
If you’re thinking about faux concrete in a bathroom, you’re asking the right question: what happens when constant moisture meets a decorative finish?
Here’s the blunt truth most DIY guides gloss over: faux concrete can work extremely well in bathrooms—but only if you treat it like a system, not just a finish.
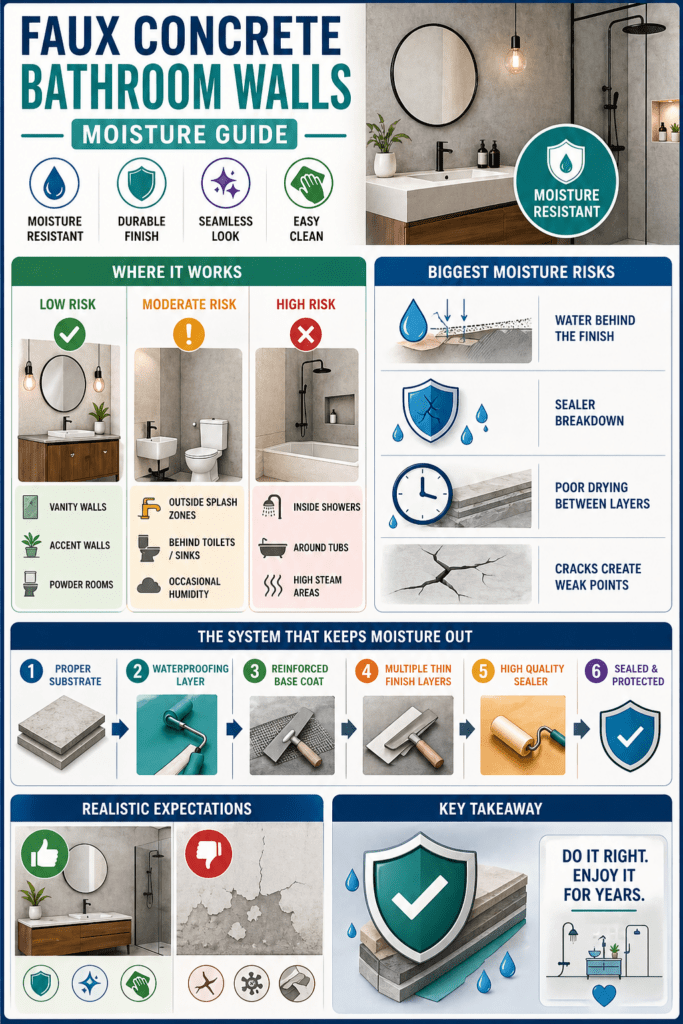
I’ve seen both sides. Done right, it looks incredible and holds up for years. Done wrong, it fails quietly—then suddenly you’re dealing with peeling, dark spots, or worse… trapped moisture behind the wall.
Let’s break it down in a practical way so you don’t learn this the hard way.
The Reality of Moisture in Bathrooms
Bathrooms aren’t just “wet”—they’re high humidity + vapor + temperature swings. That combination is what stresses wall finishes.
Modern cement-based finishes like microcement are popular here for a reason:
- They can be highly moisture-resistant and even waterproof when sealed properly
- They handle steam and humidity well when installed correctly
- They create a seamless surface with fewer failure points than tile grout
But here’s the part people miss…
👉 The material itself isn’t the weak link—installation and sealing are.
Where Faux Concrete Works (and Where It Doesn’t)

✔ Safe Zones (Low Risk)
- Vanity walls
- Accent walls
- Half-bathrooms
- Powder rooms
These are forgiving environments. Even basic faux finishes can hold up here with a good sealer.
👉 If you’re just starting, this is where you should test your technique.
⚠ Moderate Risk
- Bathroom walls outside direct splash zones
- Behind toilets or sinks
- Areas with occasional humidity
Here you need:
- Moisture-resistant substrate (like cement board)
- Proper primer
- Multiple coats of sealer
🚫 High Risk (Where Most Failures Happen)
- Inside showers
- Around tubs
- Steam-heavy bathrooms
This is where you cannot treat faux concrete like paint.
To succeed here, you need a microcement-style system:
- Waterproof base layers
- Reinforcement mesh
- Professional-grade sealers
Otherwise, water will eventually get in.
Biggest Moisture Risks (No One Talks About Enough)
1. Water Getting Behind the Finish
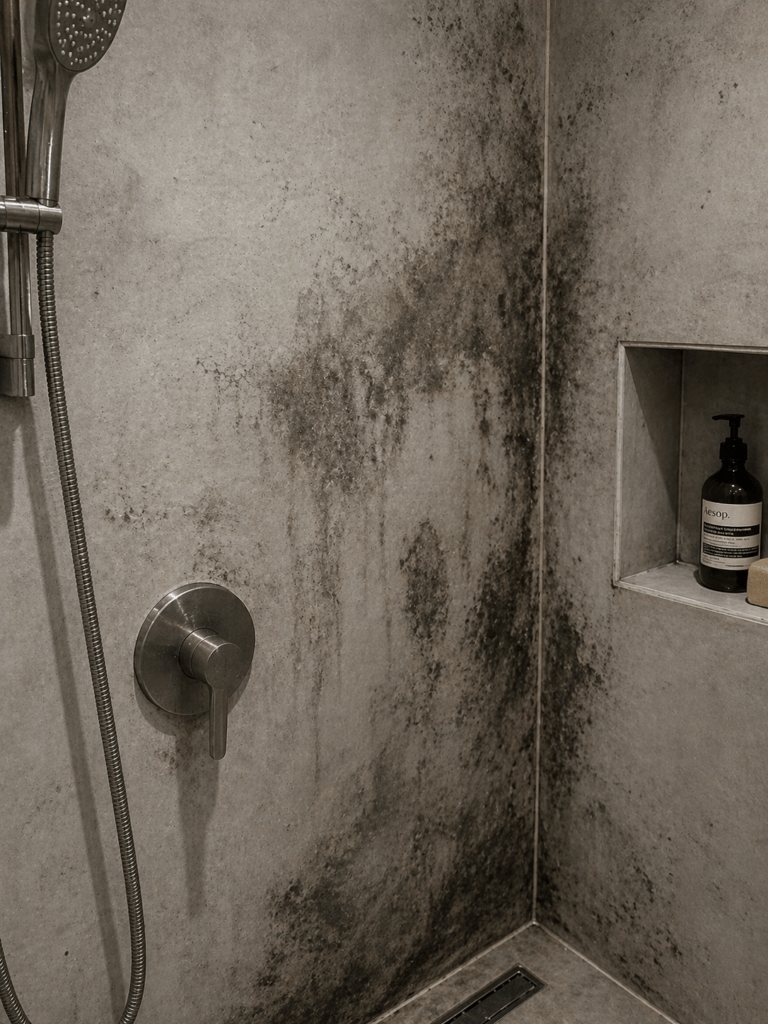
Even if the surface looks fine, moisture behind it can:
- Cause bubbling
- Create dark patches
- Lead to mold
👉 This is why substrate prep matters more than the finish itself.
2. Sealer Failure Over Time
All sealers wear down.
- Constant cleaning
- Soap residue
- Hard water
These slowly degrade protection. If you don’t reseal periodically, water resistance drops significantly
3. Poor Drying Between Layers
If layers aren’t fully dry:
- Moisture gets trapped
- Adhesion weakens
- Long-term durability drops
Even humidity during application can affect curing time
4. Cracking = Instant Weak Point
Hairline cracks may seem harmless, but they:
- Allow water entry
- Spread over time
- Compromise the system
This is almost always due to:
- Movement in the wall
- Poor base prep
- Rushed application
What Actually Works (Pro-Level Setup)
If you want faux concrete that survives bathroom conditions, follow this stack:
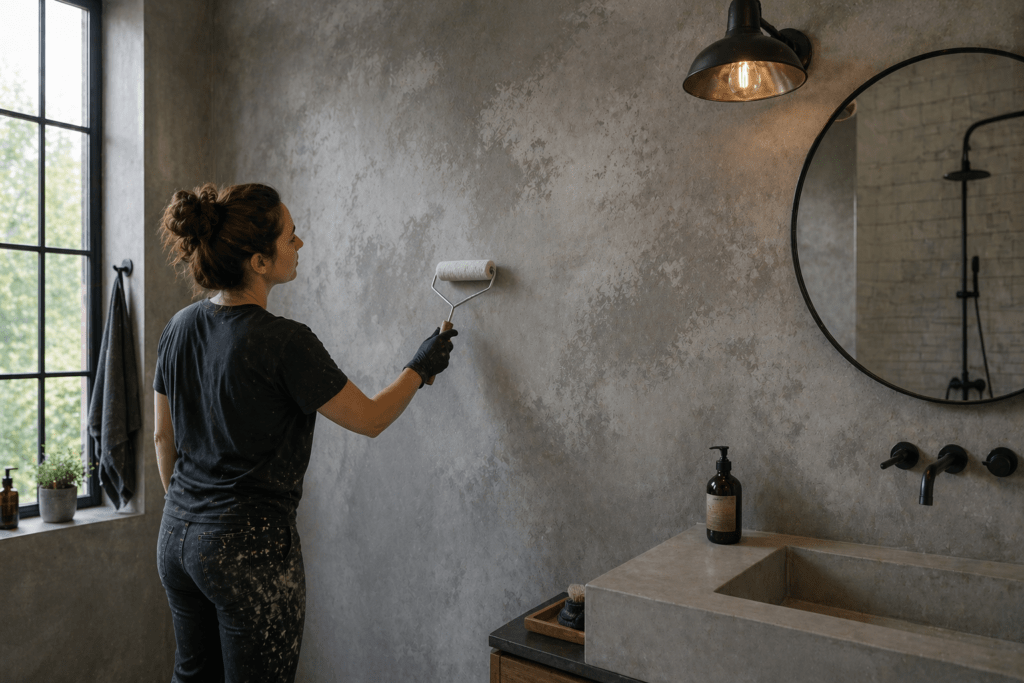
1. Proper Substrate
- Cement board (not drywall in wet zones)
2. Waterproofing Layer
- Liquid membrane or waterproof board system
3. Reinforced Base Coat
- Microcement or plaster with mesh
4. Multiple Thin Finish Layers
- Build depth gradually
5. High-Quality Sealer (Critical Step)
- Polyurethane or epoxy-based
- Multiple coats
👉 Skip any one of these, and you’re rolling the dice.
Realistic Expectations
Let’s be honest so you don’t get disappointed later.
What faux concrete does well:
- Seamless, modern look
- Easy cleaning (no grout lines)
- Strong moisture resistance when sealed
What it doesn’t do:
- It’s not “set it and forget it”
- It requires maintenance (resealing)
- It’s less forgiving than tile if installed poorly
Even high-end systems rely on proper sealing to stay waterproof
Decision Guidance (Quick Reality Check)
Choose faux concrete if:
- You want a modern, seamless look
- You’re willing to follow a proper system
- You’re okay with occasional maintenance
Skip it (or limit to dry zones) if:
- You want zero maintenance
- You’re doing a quick DIY without prep
- You don’t want to deal with sealing
Time to Complete (Typical Project)
| Area | Time Estimate |
|---|---|
| Prep + waterproofing | 1–2 days |
| Base + finish layers | 2–3 days |
| Drying + curing | 2–5 days |
| Sealing | 1 day |
👉 Realistically: 5–10 days total
Rushing this is the #1 cause of failure.
Recommended Product Direction
- Faux concrete prep guide (surface prep + priming)
- Best sealers for faux concrete walls
- Smooth vs textured finish techniques

Printable Checklist
Faux Concrete Bathroom Success Checklist
- Moisture-resistant substrate installed
- Waterproof membrane applied (wet zones)
- Surface fully prepped (no dust, cracks fixed)
- Multiple thin coats (not one thick layer)
- Proper drying between coats
- High-quality sealer (2–3 coats minimum)
- Edges and corners sealed carefully
- Plan for resealing every 1–3 years
FAQ (Before You Decide)
Is faux concrete waterproof?
Not by itself. It becomes water-resistant or waterproof only after proper sealing.
Can I use it in a shower?
Yes—but only with a full microcement-style waterproof system. Basic faux finishes will fail.
Does it mold?
Properly sealed systems resist mold because there are no joints or grout lines
Is it better than tile?
Different trade-off:
- Tile = durable, low risk, more maintenance (grout)
- Faux concrete = seamless look, higher skill requirement
How often do I need to reseal?
Typically every 1–3 years, depending on use and cleaning habits.
Resources
- Microcement durability and water resistance overview
- Microcement and humidity performance explained
- Microcement bathroom waterproofing insights (2026)
Conclusion
Faux concrete bathroom walls aren’t risky—they’re just unforgiving.
If you respect the system (prep, layering, sealing), you get a clean, modern surface that handles moisture extremely well. If you cut corners, moisture will find its way in—and it won’t show up until it’s a problem.
So the real question isn’t “can it work?”
It’s: are you willing to do it right?