If you’ve ever stepped back after finishing a faux concrete wall and thought, “Why doesn’t this look right?” — you’re not alone. Faux concrete is one of those finishes that looks simple… until you try to make it look real. The difference between a believable concrete effect and something that looks painted-on usually comes down to a handful of avoidable mistakes.
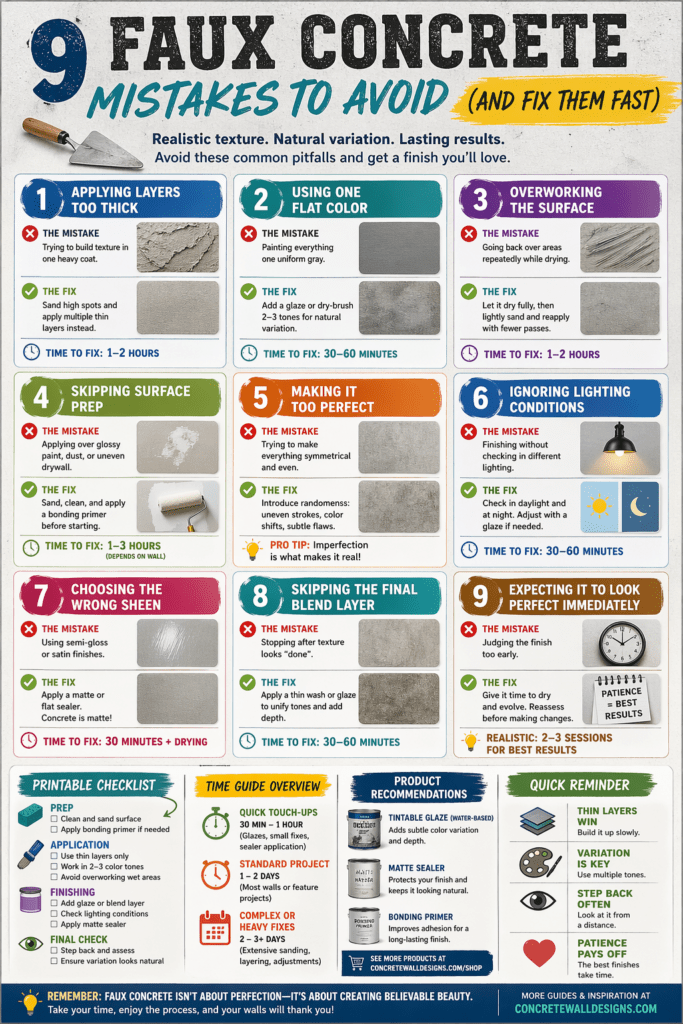
After working through dozens of projects (and fixing plenty of botched ones), the same issues show up again and again. The good news? Almost all of them are fixable — often without starting over.
Let’s walk through the most common mistakes, how to fix them, and how to avoid wasting time or materials.
1. Applying Layers Too Thick
The mistake:
Trying to build texture in one heavy coat.
Why it fails:
Real concrete has subtle variation, not chunky buildup. Thick layers dry unevenly and create artificial-looking ridges.
Fix:
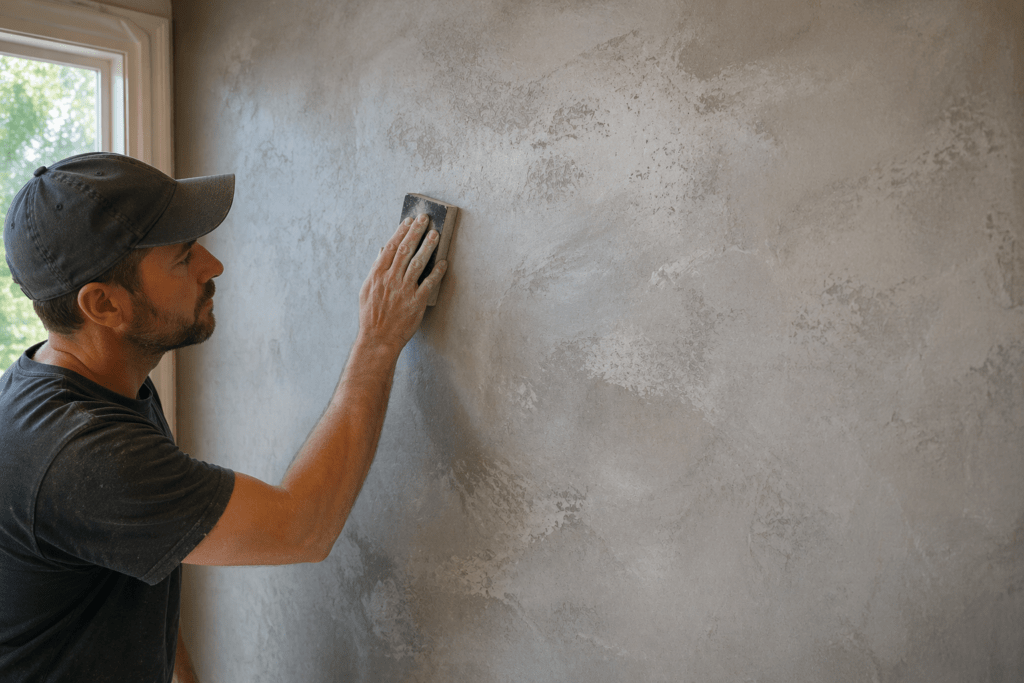
Sand down the high spots and apply multiple thin layers instead.
Better approach:
Think in passes, not coats. Each layer should be thin enough to partially reveal what’s underneath.
👉 Related guide: Faux Concrete Techniques
Time to fix: 1–2 hours (including sanding + recoat)
2. Using One Flat Color
The mistake:
Painting everything one uniform gray.
Why it fails:
Real concrete always has tonal variation — warm, cool, light, and dark areas.
Fix:
Add a glaze layer or dry-brush a second tone over the surface.
Better approach:
Use at least 2–3 tones:
- Base gray
- Mid-tone wash
- Highlight or shadow accents
👉 Product tip: Water-based tintable glaze for subtle color shifts
Time to fix: 30–60 minutes
3. Overworking the Surface

The mistake:
Going back over areas repeatedly while drying.
Why it fails:
You end up with streaks, muddy colors, and visible brush marks.
Fix:
Let the layer dry fully, then lightly sand and reapply with fewer passes.
Better approach:
Apply, step back, and leave it alone. The “imperfect” look is what makes it believable.
Trade-off:
Less control upfront, but a more natural finish overall.
4. Skipping Surface Prep
The mistake:
Applying directly over glossy paint, dust, or uneven drywall.
Why it fails:
Poor adhesion and inconsistent texture.
Fix:
Sand, clean, and apply a bonding primer before continuing.
👉 Related guide: Wall Prep for Concrete Finish
Better approach checklist:
- Light sanding (120–220 grit)
- Clean with damp cloth
- Apply primer if needed
Time to fix: 1–3 hours depending on wall condition
5. Making It Too Perfect
The mistake:
Trying to make everything symmetrical and even.
Why it fails:
Concrete is naturally irregular — perfection looks fake.
Fix:
Introduce randomness:
- Uneven strokes
- Slight color shifts
- Subtle imperfections
Better approach:
Stand back every few minutes and ask: Does this look too intentional?
6. Ignoring Lighting Conditions
The mistake:
Finishing the wall without checking it in different lighting.
Why it fails:
Artificial lighting can exaggerate flaws or flatten texture.
Fix:
Adjust with a light glaze or matte topcoat to reduce glare or harsh contrast.
Better approach:
- Check in natural daylight
- Check at night with room lighting
- Adjust before sealing
7. Choosing the Wrong Sheen
The mistake:
Using semi-gloss or satin finishes.
Why it fails:
Real concrete is matte. Shine immediately gives it away.
Fix:
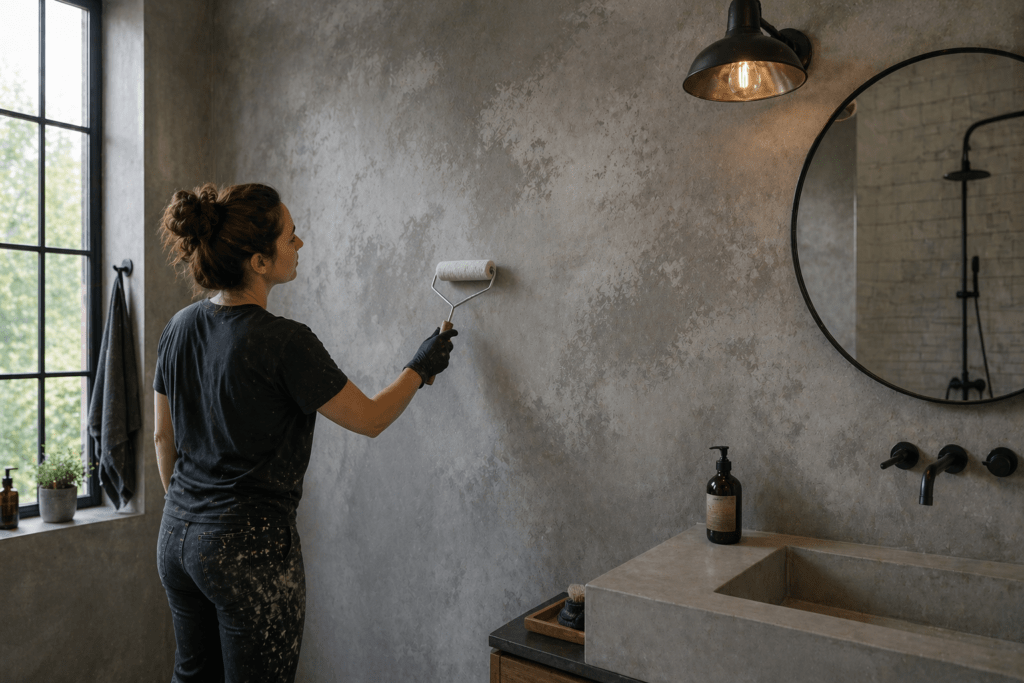
Apply a matte or flat sealer over the surface.
👉 Product recommendation:
- Matte polyurethane or concrete sealer
Time to fix: 30 minutes application + drying
8. Skipping the Final Blend Layer
The mistake:
Stopping after texture looks “done.”
Why it fails:
The finish lacks depth and cohesion.
Fix:
Apply a thin wash or glaze over the entire surface to unify tones.
Better approach:
This is the “tie-it-all-together” step — don’t skip it.
9. Expecting It to Look Perfect Immediately
The mistake:
Judging the finish too early.
Why it fails:
Faux concrete evolves as layers dry and interact.
Fix:
Give it time. Reassess after full drying before making changes.
Realistic expectation:
The best finishes are built gradually — not in one session.
Printable Faux Concrete Checklist

Prep
☐ Clean and sand surface
☐ Apply bonding primer if needed
Application
☐ Use thin layers only
☐ Work in 2–3 color tones
☐ Avoid overworking wet areas
Finishing
☐ Add glaze or blend layer
☐ Check lighting conditions
☐ Apply matte sealer
Final Check
☐ Step back and assess from distance
☐ Ensure variation looks natural
Frequently Asked Questions
Why does my faux concrete look like paint?
Because it probably is — too uniform and flat. Add tonal variation and texture layers to break it up.
Can I fix a bad faux concrete wall without starting over?
Yes, most of the time. Sand lightly and apply additional layers or glazes to correct color and texture.
How many layers should faux concrete have?
Typically 3–5 thin layers for a realistic finish.
Do I need a sealer?
Yes. A matte sealer protects the finish and removes unwanted sheen.
What’s the biggest beginner mistake?
Going too thick and too uniform. Thin, varied layers always win.
Real-World Expectations
Here’s the honest part most guides skip: faux concrete is not a one-and-done project. It’s iterative.
- Best-case scenario: 1–2 days for a solid result
- More realistic: 2–3 sessions with adjustments
- Worst case (heavy fixes): Sanding and partial redo
But once you understand layering and restraint, it gets much easier — and faster.
Reputable Resources
- American Concrete Institute (ACI): https://www.concrete.org
- International Code Council (ICC): https://www.iccsafe.org
- National Association of Home Builders (NAHB): https://www.nahb.org
Conclusion
Faux concrete isn’t about copying concrete — it’s about suggesting it. The moment you try to control every detail, it starts to look artificial.
Keep your layers thin, your colors varied, and your approach flexible. Most mistakes aren’t failures — they’re just unfinished steps.
If something looks off, don’t panic. Step back, adjust, and keep building the surface. That’s how the best finishes come together.