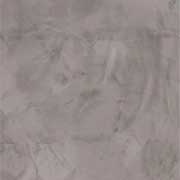
If you’ve ever tried to create a faux concrete wall and felt like something just looked… off, there’s a good chance it wasn’t your technique—it was your tools.
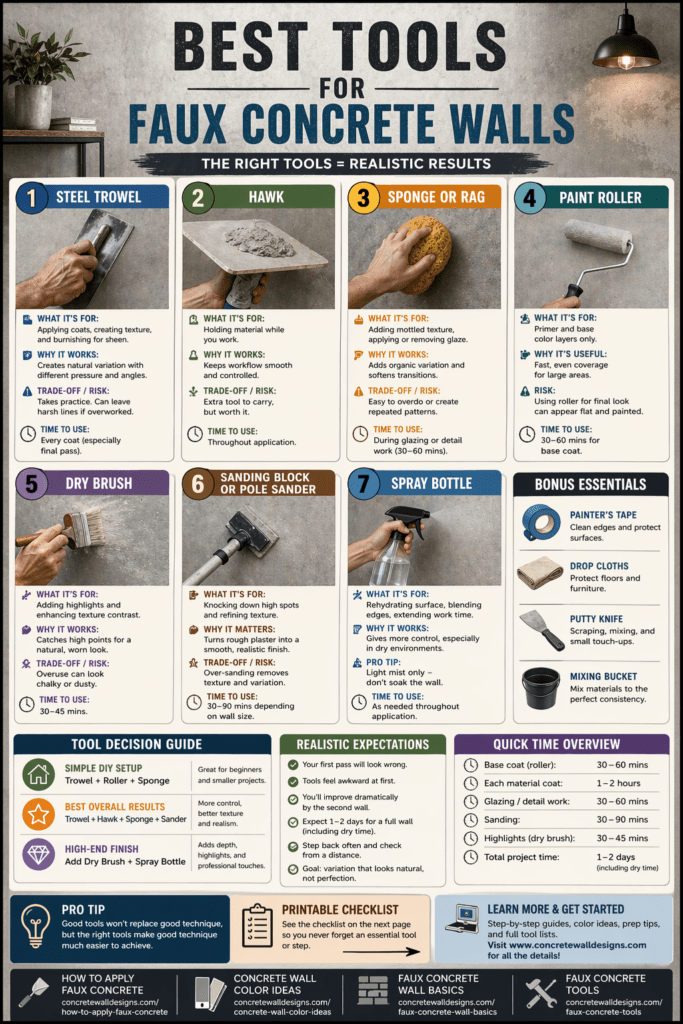
This is one of those projects where the right tools don’t just make things easier—they completely change the outcome. I’ve seen the same material look flat and painted with one setup, and then turn into a rich, realistic concrete finish just by switching tools.
So instead of guessing, here’s a breakdown of what actually works, when to use it, and where people waste time (and money).
Why Tools Matter More Than You Think
Real concrete gets its look from:
- Compression
- Irregular application
- Subtle surface variation
Cheap or wrong tools tend to:
- Over-smooth everything
- Leave repetitive patterns
- Kill depth before it even starts
If your goal is realism, you need tools that introduce controlled imperfection, not eliminate it.
1. Steel Trowel (Your #1 Tool)

What it’s for:
- Applying base coats
- Creating movement and texture
- Burnishing for subtle sheen
Why it works:
A steel trowel gives you uneven pressure and natural variation—exactly what real concrete has.
Pro tip:
Use different angles and pressure. Flat = smooth. Edge = texture.
Trade-off:
- Takes practice
- Can leave harsh lines if overworked
Time to use:
- Every coat (especially final pass)
2. Hawk (Makes Application Easier)
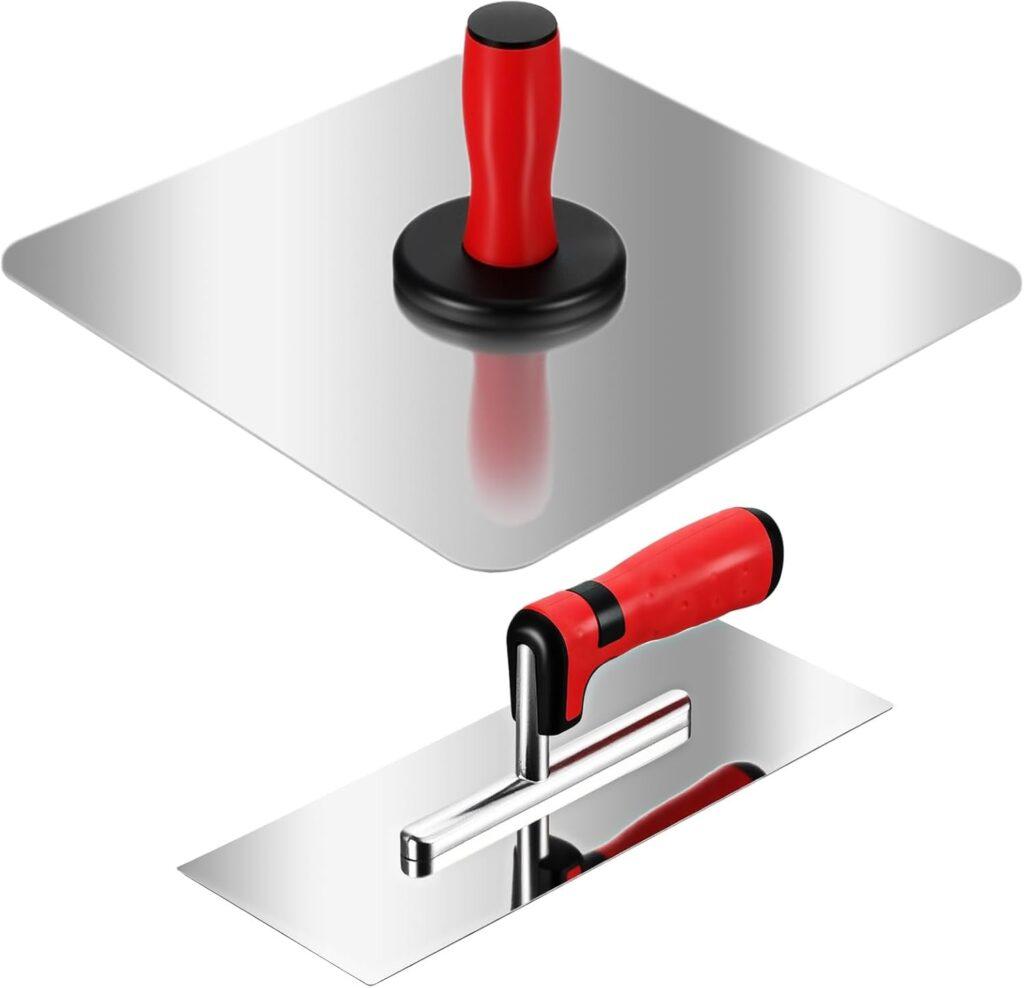
What it’s for:
- Holding material while you work
Why it matters:
Keeps your workflow smooth and controlled, especially on larger walls.
Reality check:
You can skip it—but once you use one, you won’t go back.
Time to use:
- Throughout application
3. Natural Sponge or Rag (For Variation)
What it’s for:
- Adding mottled texture
- Applying or removing glaze
- Softening harsh transitions
Why it works:
Breaks up uniform areas and adds organic randomness.
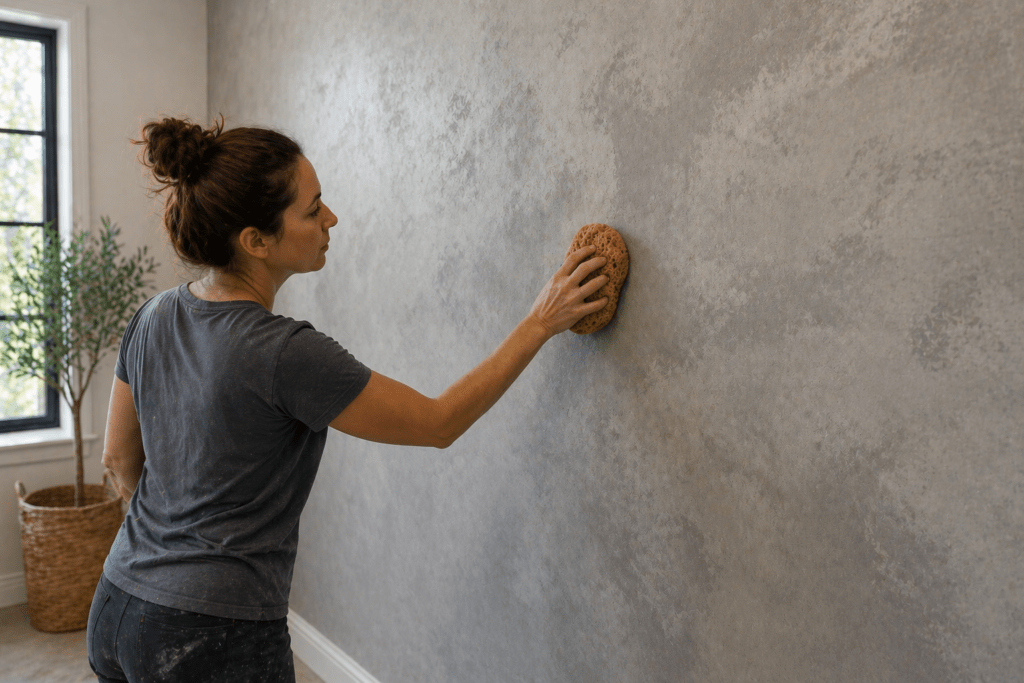
Mistake to avoid:
Repeating patterns. Rotate your sponge often.
Trade-off:
- Easy to overdo
- Can look artificial if too consistent
Time to use:
- During glazing or detail work (30–60 mins)
4. Paint Roller (For Base Coats Only)
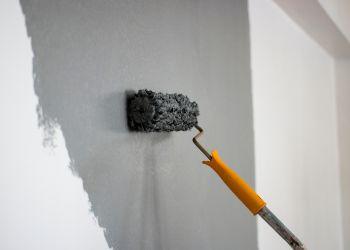
What it’s for:
- Primer
- Base color layers
Why it’s useful:
Fast coverage and even distribution.
Important:
This is a prep tool, not a finishing tool.
Risk:
If you rely on a roller for the final look, your wall will look painted—not concrete.
Time to use:
- 30–60 mins for base coat
5. Dry Brush (For Highlights)
What it’s for:
- Adding highlights
- Enhancing texture contrast
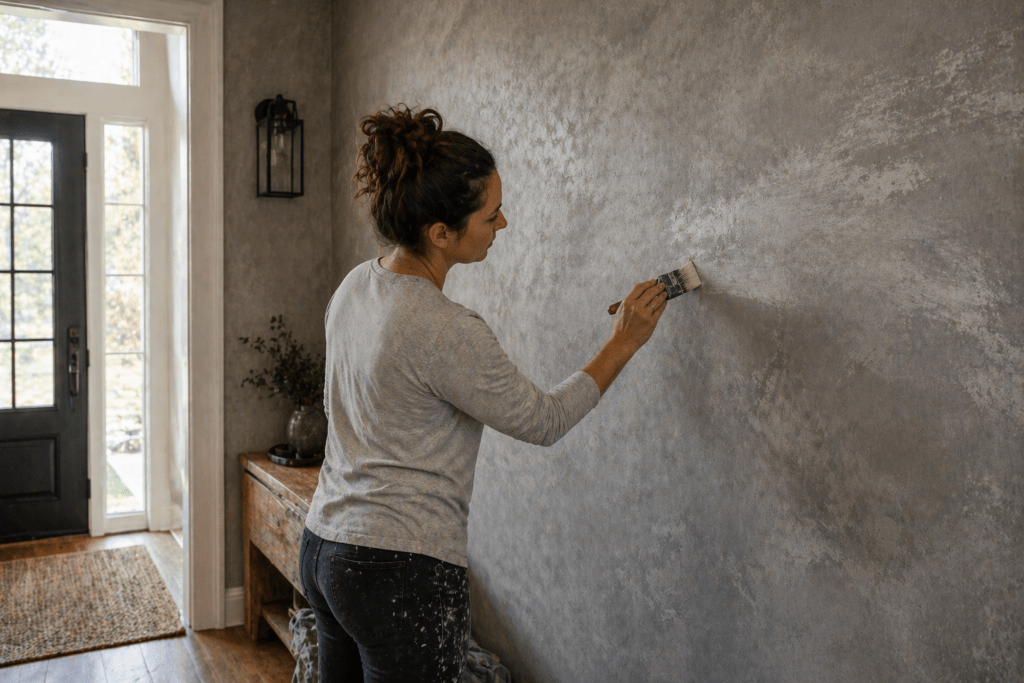
Why it works:
Catches only high points, mimicking worn concrete.
Pro tip:
Less paint than you think. Almost dry.
Trade-off:
- Overuse = chalky look
Time to use:
- 30–45 mins
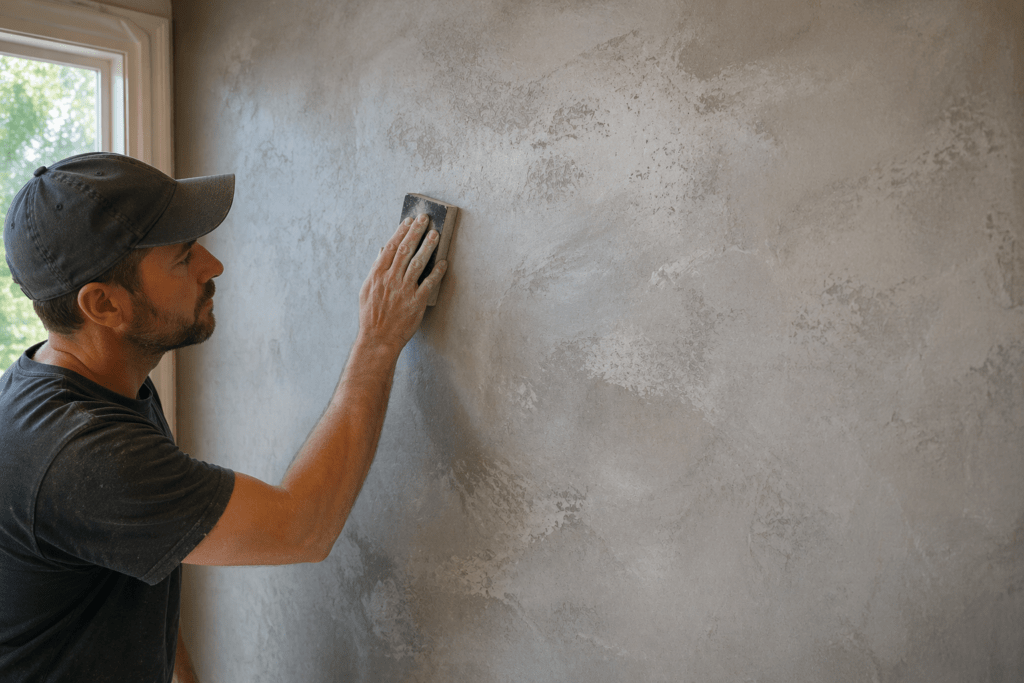
6. Sanding Block or Pole Sander
What it’s for:
- Knocking down high spots
- Softening texture
Why it matters:
This step is what separates “rough plaster” from “refined concrete.”
Reality:
Almost every good faux concrete wall gets sanded at least once.
Risk:
- Over-sanding removes variation
Time to use:
- 30–90 mins depending on wall size
7. Spray Bottle (Underrated Tool)
What it’s for:
- Rehydrating surface slightly
- Blending edges
- Extending working time
Why it works:
Gives you more control, especially in dry environments.
Pro tip:
Light mist only—don’t soak the wall.
Decision Guide: What You Actually Need
If you want:
- Simple DIY setup: Trowel + roller + sponge
- Best overall results: Trowel + hawk + sponge + sander
- High-end finish: Add dry brush + spray bottle
You don’t need everything—but skipping the trowel is a mistake.
Realistic Expectations
Here’s the part people don’t talk about:
- Your first pass will look wrong
- Tools feel awkward at first
- You’ll improve dramatically by the second wall
Expect:
- 1–2 days for a full wall (including dry time)
- Some trial and error
- Better results when you step back often
The goal isn’t perfection—it’s variation that looks natural.
Product Recommendations
To build a complete setup, combine tools with the right techniques:
- Achieve optimal results:
→ Expert Tips & Techniques - Step-by-step application techniques:
→ How to Paint a Wall Like Concrete - Decorative Concrete Stencils:
→ How to Apply Stencil Patterns to Concrete

Printable Checklist
Faux Concrete Tools Checklist
- Steel trowel (essential)
- Hawk (optional but recommended)
- Paint roller (for base coat only)
- Natural sponge or rag
- Dry brush (for highlights)
- Sanding block or pole sander
- Spray bottle (for blending control)
- Drop cloths + painter’s tape
Frequently Asked Questions
Can I do faux concrete without a trowel?
You can—but it won’t look realistic. A trowel creates the movement and variation you need.
What’s the most important tool?
The steel trowel, no question. Everything else supports it.
Do I need to sand between coats?
Not always—but sanding at least once improves realism significantly.
Are expensive tools worth it?
Mid-range tools are fine. Technique matters more than brand.
Why does my wall look streaky?
Usually too much pressure with a trowel or overworking the surface. Lighten up and vary your motion.
Additional Resources
- American Concrete Institute (ACI): https://www.concrete.org
- National Association of Home Builders (NAHB): https://www.nahb.org
- International Code Council (ICC): https://www.iccsafe.org
Conclusion
If you take one thing from this, make it this:
The tool in your hand shapes the entire look.
You don’t need a massive setup—but you do need the right core tools, used with intention. Focus on variation, stay light with your touch, and don’t overwork the surface. That’s how you go from “painted wall” to something that actually looks like poured concrete.