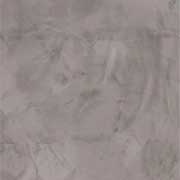
If you’re going after a faux concrete wall, one of the biggest decisions you’ll make isn’t the color—it’s the finish. Smooth vs textured changes everything: how the light hits the wall, how “real” it looks, how forgiving it is during application, and even how it feels when you walk into the room.
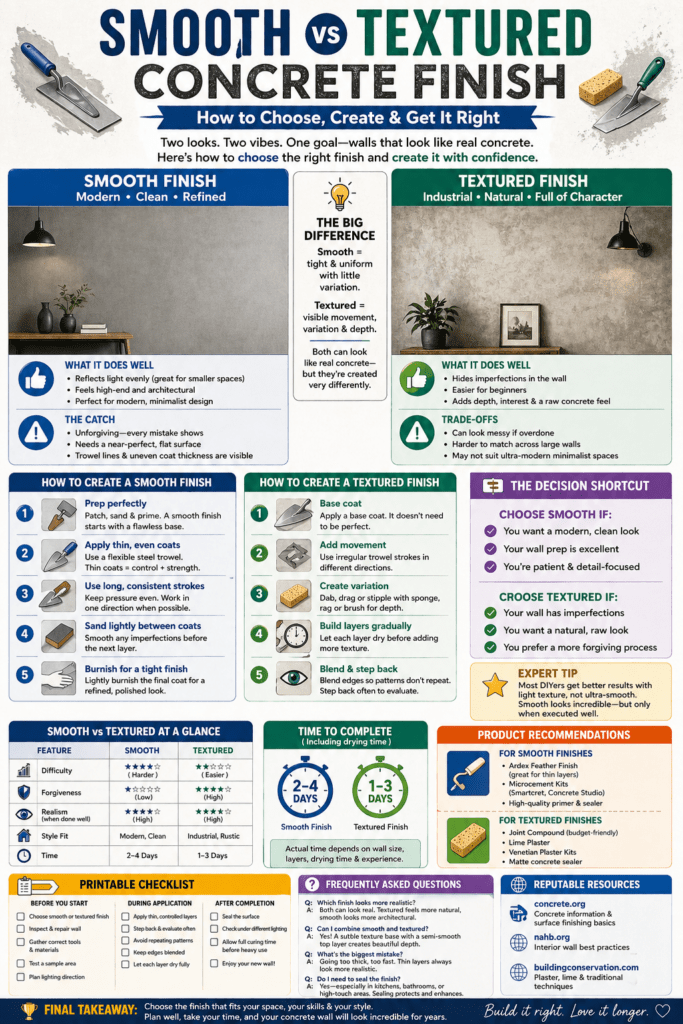
I’ve worked on both ends of the spectrum—from ultra-smooth, almost polished walls to rough, industrial-style finishes—and here’s the honest truth: neither is “better.” The right choice depends on your space, your lighting, and how much imperfection you’re willing to manage.
Let’s break it down so you don’t end up redoing your wall two weekends from now.
What Defines Smooth vs Textured?
Before getting into technique, here’s the difference in practical terms:
- Smooth finish = tight, refined surface with minimal variation
- Textured finish = visible movement, variation, and depth
Both can look like real concrete—but they require completely different approaches to get there.
Smooth Concrete Finish (Modern + Clean)
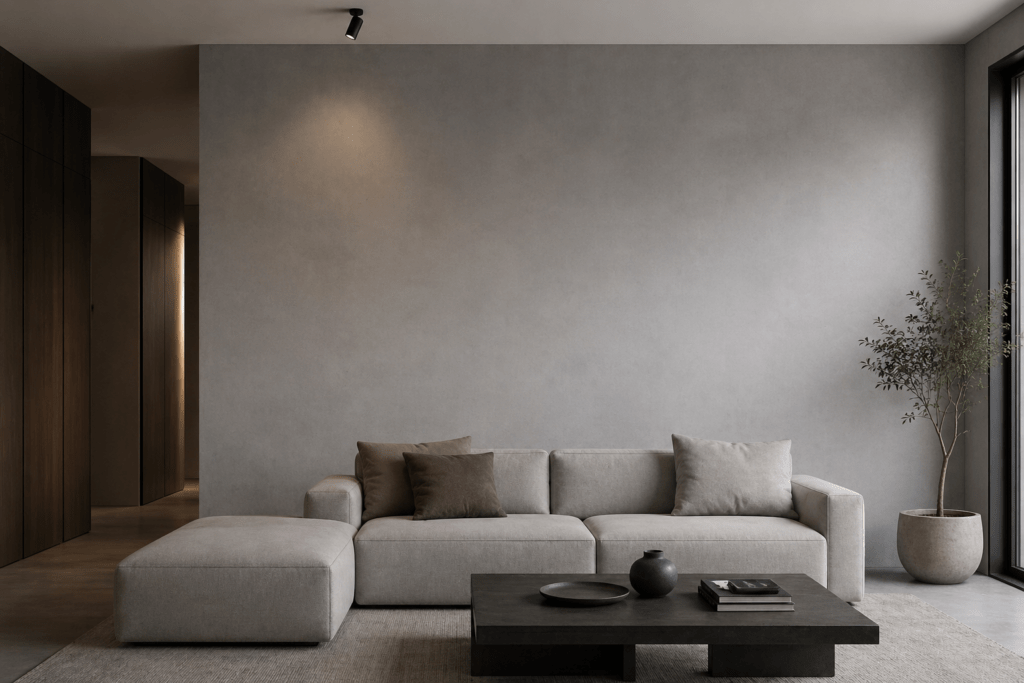
A smooth finish is what most people picture when they think of modern concrete interiors—clean, soft gray, almost velvety under the right lighting.
What It Does Well
- Reflects light evenly (great for smaller spaces)
- Feels high-end and architectural
- Works with modern, minimalist design
The Catch (This Matters)
Smooth is unforgiving. Every mistake shows:
- Trowel lines
- Uneven thickness
- Poor surface prep
If your base wall isn’t near-perfect, smooth will expose it instantly.
👉 Prep matters more here than anywhere:
https://www.concretewalldesigns.com/faux-concrete-wall-prep/
How to Create a Smooth Finish
Tools:
- Flexible steel trowel
- Hawk or mud pan
- Fine sanding block (optional)
Steps:
- Start with a perfectly prepped wall (patch + sand flat)
- Apply thin, even coats (don’t rush thickness)
- Use long, consistent trowel strokes
- Lightly sand between coats if needed
- Burnish lightly for a tighter finish
👉 Technique tips:
https://www.concretewalldesigns.com/how-to-make-faux-concrete-look-real/
Realistic Expectations
- Takes more patience than you think
- Often requires 2–3 coats minimum
- You’ll notice flaws others won’t—but they’re there
Textured Concrete Finish (Industrial + Forgiving)
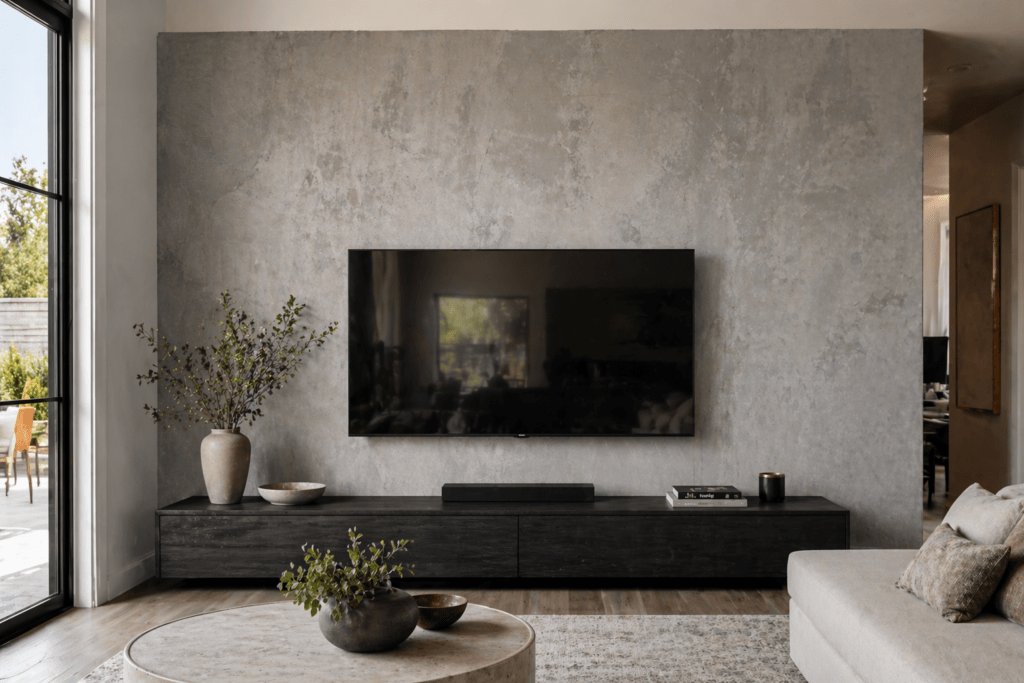
A textured finish leans into variation—this is where faux concrete starts to feel more natural and less “perfect.”
What It Does Well
- Hides imperfections in the wall
- Easier for beginners
- Adds visual interest and depth
- Feels more like raw, poured concrete
Trade-Offs
- Can look messy if overdone
- Harder to match across large walls
- May not suit modern minimalist spaces
How to Create a Textured Finish
Tools:
- Trowel (less controlled use)
- Sponge, rag, or brush
- Putty knife or drywall knife
Steps:
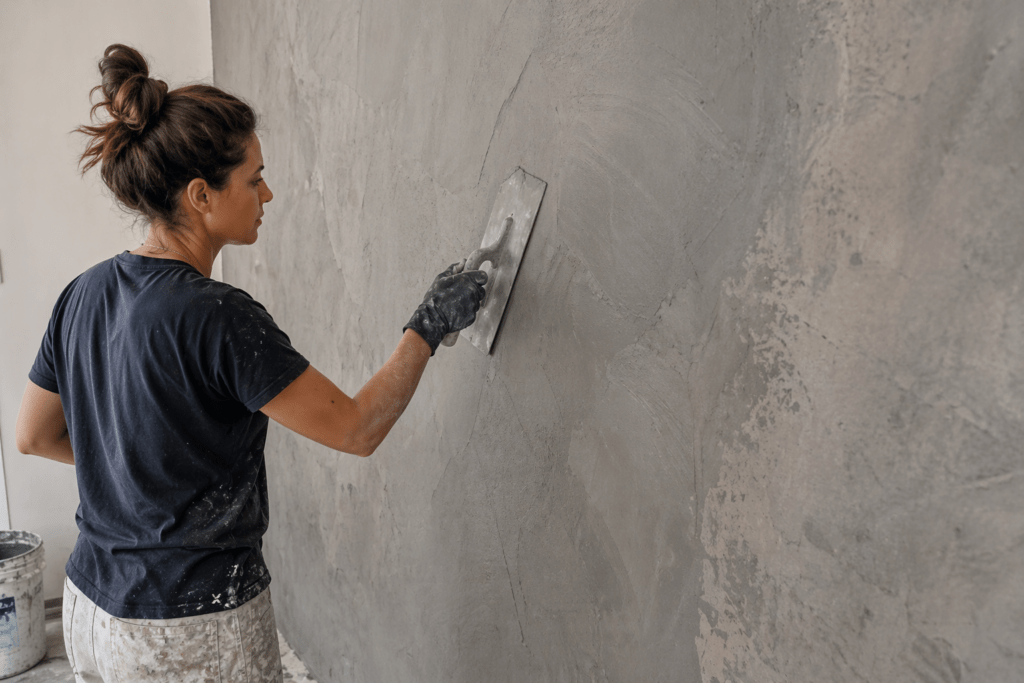
- Apply base coat (doesn’t need to be perfect)
- Add variation using irregular trowel movement
- Dab or drag with sponge/rag for depth
- Build layers gradually (don’t try to do it all at once)
- Blend edges so patterns don’t repeat
Realistic Expectations
- Easier to get a “good” result quickly
- Harder to get a consistent professional look
- Requires stepping back often to avoid overworking
Side-by-Side Decision Guide
| Feature | Smooth Finish | Textured Finish |
|---|---|---|
| Difficulty | Higher | Lower |
| Forgiveness | Low | High |
| Realism | High (if done well) | High (more natural) |
| Style Fit | Modern, clean | Industrial, rustic |
| Time | Longer | Faster |
The Decision Shortcut
If you want a simple way to decide:
- Choose smooth if:
- Your space is modern/minimal
- Your wall prep is excellent
- You’re patient and detail-focused
- Choose textured if:
- Your wall has imperfections
- You want a natural, raw look
- You prefer a more forgiving process
Here’s the blunt truth:
Most DIYers get better results with light texture, not ultra-smooth. Smooth looks incredible—but only when executed well.
Time to Complete
| Finish Type | Time Estimate |
|---|---|
| Smooth | 2–4 days |
| Textured | 1–3 days |
(Includes drying and light sanding between coats)
Product Recommendations
For Smooth Finishes:
- Henry Feather Finish
- Microcement kits (Smartcret, Concrete Studio)
For Textured Finishes:
- Joint compound (budget-friendly option)
- Lime plaster paint or Venetian plaster kits
👉 Tools + materials guide:
https://www.concretewalldesigns.com/best-tools-faux-concrete/
Printable Checklist

Before You Start:
- Choose smooth or textured finish
- Inspect wall for imperfections
- Gather correct tools for your method
- Test a sample area
- Plan lighting direction
During Application:
- Apply thin, controlled layers
- Step back frequently to evaluate
- Avoid repeating patterns
- Keep edges blended
After Completion:
- Seal the surface (especially in high-use areas)
- Check appearance under different lighting
- Allow full curing time
Frequently Asked Questions
Which finish looks more realistic?
Both can look real—but textured tends to feel more natural, while smooth looks more architectural. The realism comes down to execution.
Is smooth harder to apply?
Yes. Smooth finishes require more control, better prep, and more patience.
Can I combine smooth and textured?
Yes—and it often looks great. A lightly textured base with a semi-smooth top layer creates depth without looking messy.
What’s the biggest mistake people make?
Going too thick, too fast. Thin layers always look more realistic.
Do I need to seal the finish?
Yes, especially in kitchens, bathrooms, or high-touch areas. Sealing protects and enhances the look.
Resources
- https://www.concrete.org – Concrete surface and finishing basics
- https://www.nahb.org – Interior wall best practices
- https://www.buildingconservation.com – Plaster and lime techniques
Final Take
If you want clean and modern—and you’re willing to slow down—go smooth. If you want natural, forgiving, and easier to pull off—go textured.
Most people think smooth is the “safer” option. It’s not. It’s the harder one.
If you’re on your first project, start with a subtle texture. You’ll get a more convincing result with less frustration—and you can always refine it smoother on your next pass.