If you’ve ever finished a faux concrete wall and thought, “This looks more like gray paint than concrete,” you’re not alone. That’s the exact point where most DIY projects fall short.
The truth is, realistic concrete isn’t about the product—it’s about how you apply it.
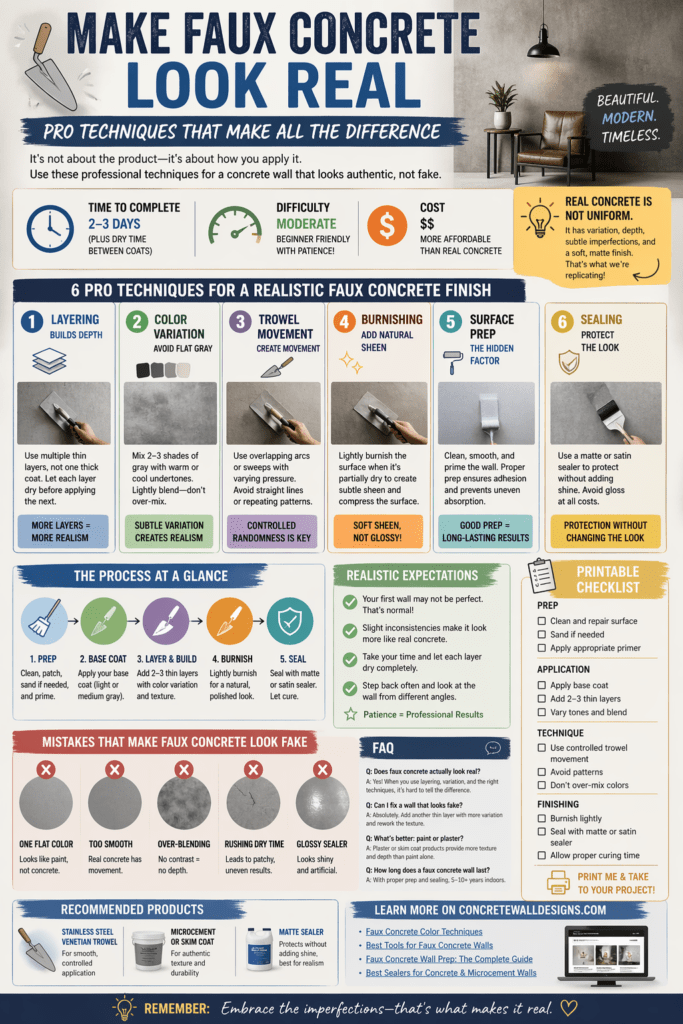
After working through a lot of these finishes (and fixing plenty that didn’t turn out right the first time), I can tell you this: the difference between a believable concrete wall and a fake-looking one comes down to a handful of specific techniques. Once you understand them, everything changes.
What Real Concrete Actually Looks Like
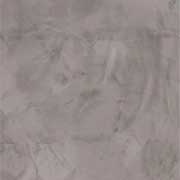
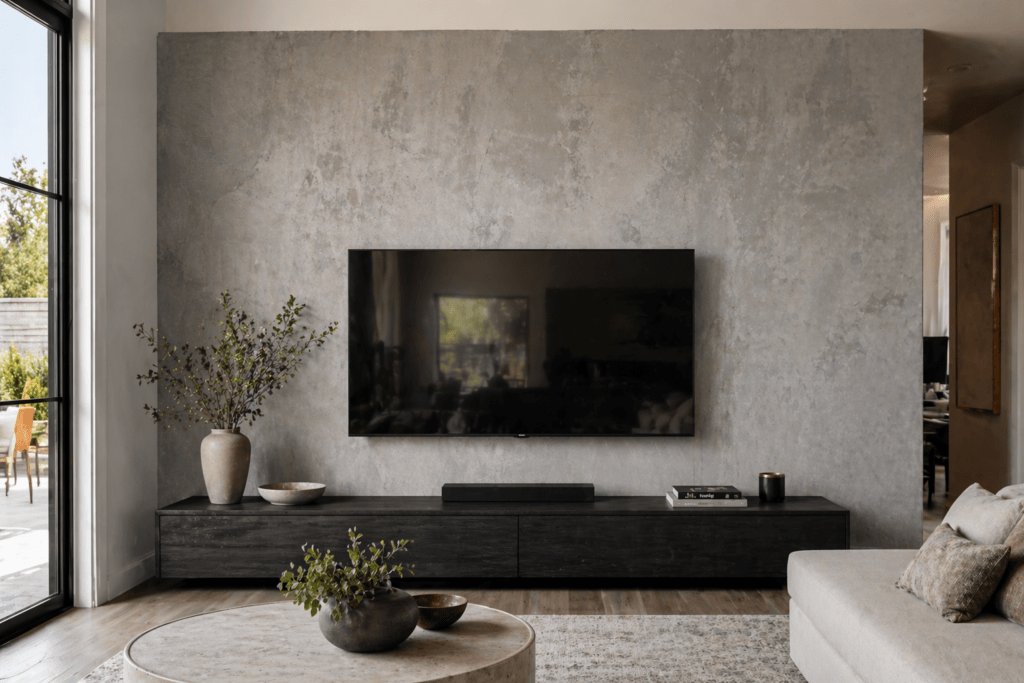
Before you even touch a trowel, you need to understand this: Real concrete is not uniform.
It has:
- Subtle color variation (not just one gray tone)
- Movement and depth
- Slight imperfections
- A soft, matte finish (not shiny or flat)
If your wall looks:
- Too smooth
- Too consistent
- Too perfect
…it will instantly read as fake.
Pro Technique #1: Layering (The Biggest Game-Changer)
This is where most DIY projects fail—they apply one coat and stop. Realistic faux concrete requires multiple thin layers, not one thick one.
How to do it:
- Apply a base coat (light gray or warm gray)
- Let it dry completely
- Add a second layer with slight variation in tone
- Use a trowel or sponge to create movement
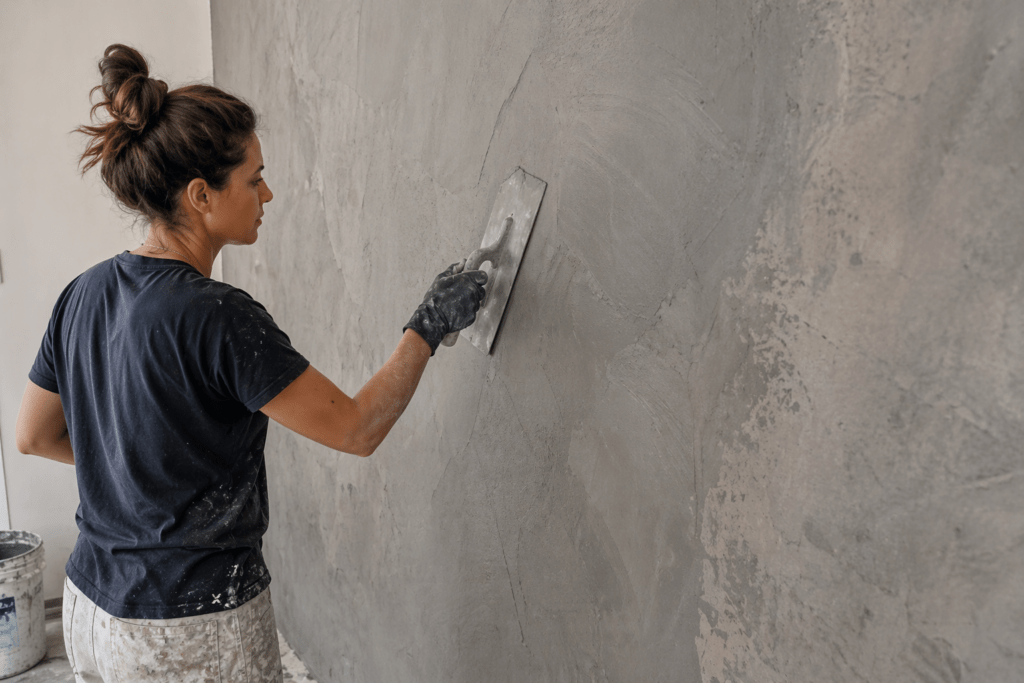
👉 The goal is to build depth, not coverage.
Trade-off:
More layers = more time
But also = dramatically better results
Time to complete:
- Basic: 1 day
- Layered finish: 2–3 days
Pro Technique #2: Color Variation (Avoid “Flat Gray”)
Flat gray is the fastest way to ruin the look.
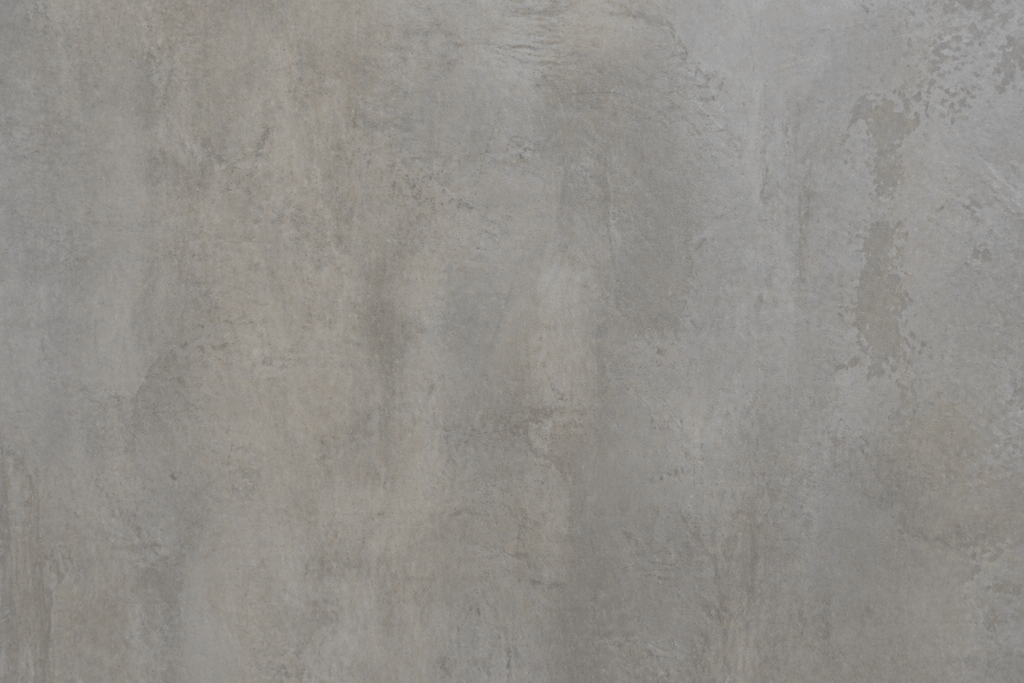
Real concrete has:
- Warm undertones (brown/beige)
- Cool undertones (blue/charcoal)
- Slight inconsistencies
What works:
- Mix 2–3 shades of gray
- Lightly blend them on the wall
- Avoid over-mixing (you want variation)
👉 If everything blends perfectly, you’ve gone too far.
For a deeper breakdown, see:
👉 https://www.concretewalldesigns.com/faux-concrete-color-techniques/
Pro Technique #3: Trowel Movement (Not Random—Controlled)
A lot of people think texture should be random. It’s not—it’s controlled randomness.
Key tips:
- Use a drywall or Venetian plaster trowel
- Apply in overlapping arcs or sweeps
- Vary pressure slightly as you move
👉 Think of it like this: you’re creating “movement,” not texture.
Mistake to avoid:
Straight lines or repetitive patterns—they look artificial immediately.
For tool recommendations:
👉 https://www.concretewalldesigns.com/best-tools-faux-concrete/
Pro Technique #4: Burnishing for a Natural Finish
This is one of the most overlooked steps.
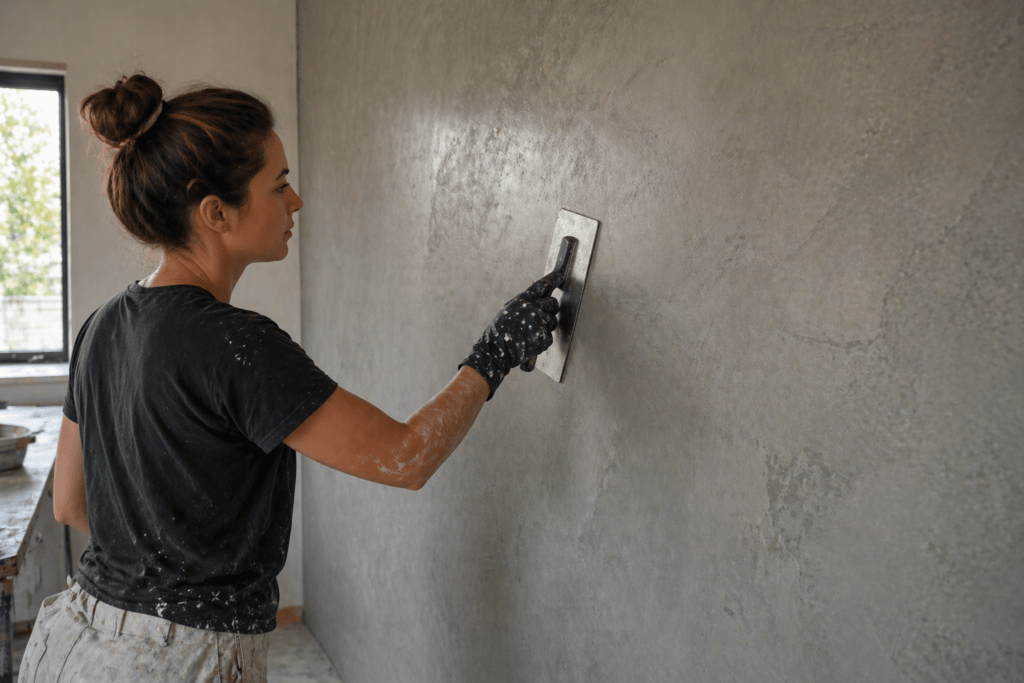
Burnishing = lightly polishing the surface with a trowel after partial drying.
What it does:
- Adds subtle sheen (like real concrete)
- Compresses the surface for realism
- Enhances tonal variation
Risk:
Over-burnishing can make it too shiny
👉 You want a soft, natural sheen—not gloss.
Pro Technique #5: Surface Prep (The Hidden Factor)
You can do everything right—and still fail—if the base surface isn’t prepped properly.
Must-do prep:
- Smooth and clean wall
- Proper primer (especially for drywall)
- Slight texture (not perfectly slick)
👉 Poor prep = peeling, uneven absorption, fake finish
Full prep guide:
👉 https://www.concretewalldesigns.com/faux-concrete-wall-prep/
Pro Technique #6: Sealing (Matte, Not Glossy)
The wrong sealer can instantly ruin your work.
Best choice:
Avoid:
- Gloss (looks like plastic)
- Heavy coatings that flatten texture
👉 The goal is protection without changing the look.
Realistic Expectations (What Most People Don’t Tell You)
Let’s be honest—your first wall probably won’t look like a designer showroom. That’s normal.
Expect:
- Slight inconsistencies (which actually help realism)
- A learning curve with layering
- 1–2 “redo” areas
What improves results fast:
- Working in small sections
- Stepping back often to evaluate
- Not rushing drying time
Printable Checklist: Realistic Faux Concrete Wall

Prep
☐ Clean and prime surface
☐ Lightly sand if needed
Application
☐ Apply base coat
☐ Add 2–3 thin layers
☐ Vary tones slightly
Technique
☐ Use controlled trowel movement
☐ Avoid patterns
☐ Blend, don’t over-mix
Finishing
☐ Burnish lightly
☐ Apply matte sealer
Frequently Asked Questions
Does faux concrete actually look real?
Yes—if you layer properly and use color variation. Most failures come from single-coat applications.
What’s the biggest mistake people make?
Using one flat gray color with no variation.
Can I fix a wall that looks fake?
Usually, yes. Add another thin layer with variation and rework the texture.
What’s better: paint or plaster?
Plaster or skim coat gives a more realistic texture. Paint alone often looks flat.
How long does it last?
With proper sealing, 5–10+ years indoors without issues.
Resources
- American Concrete Institute – Concrete surface behavior and finishing basics
- International Code Council – Wall and material guidelines
- National Association of Home Builders – Interior wall best practices
Conclusion
Getting a faux concrete wall to look real isn’t about buying better materials—it’s about how you apply them.
If you focus on:
- Layering instead of covering
- Variation instead of uniformity
- Movement instead of perfection
…you’ll end up with a finish that actually feels like concrete—not painted drywall.
Take your time, build it in layers, and don’t aim for perfect. Ironically, the more natural imperfections you allow, the more convincing your wall will look.