
If there’s one place people cut corners with faux concrete, it’s the sealer—and that’s exactly where things fall apart later.
I’ve seen beautiful walls turn blotchy, absorb water, or start peeling… not because the finish was bad, but because the wrong sealer (or not enough of it) was used. The sealer isn’t just a final step—it’s what makes the whole system work.
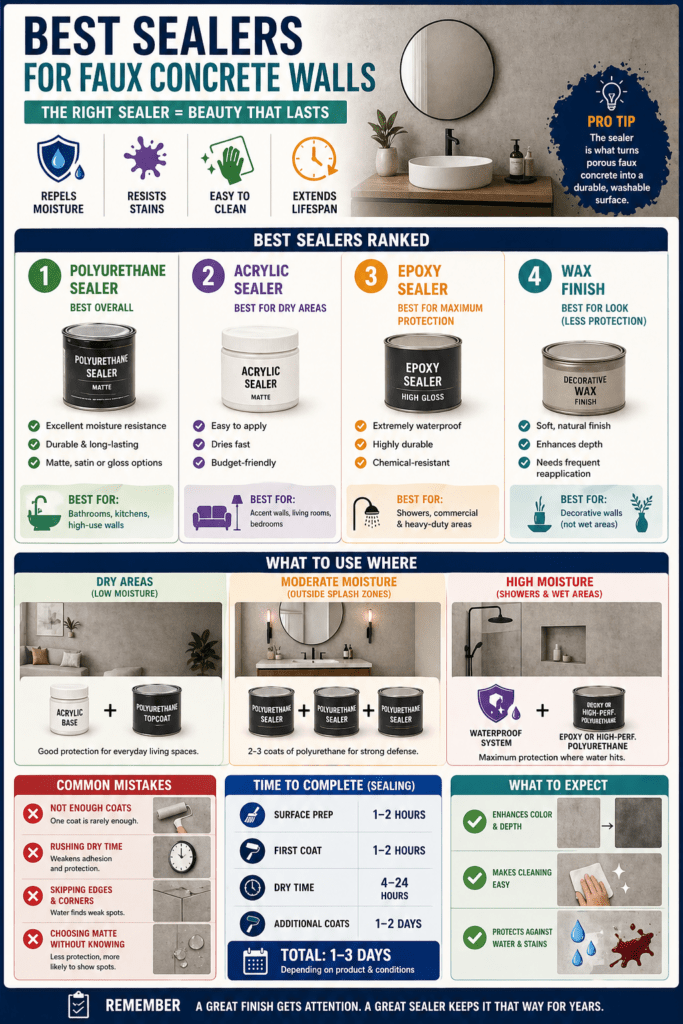
So instead of guessing, here’s a clear breakdown of what actually holds up, what doesn’t, and how to choose based on where your wall is going.
Why the Sealer Matters More Than the Finish
Faux concrete—whether it’s joint compound, plaster, or microcement—is naturally porous.
Without sealing:
- It absorbs moisture
- It stains easily
- It becomes difficult to clean
- It can degrade over time
👉 The sealer is what transforms it into a durable, wipeable, moisture-resistant surface.
Think of it like this:
- The finish gives you the look
- The sealer determines how long it lasts
Best Sealers (Ranked by Real-World Performance)
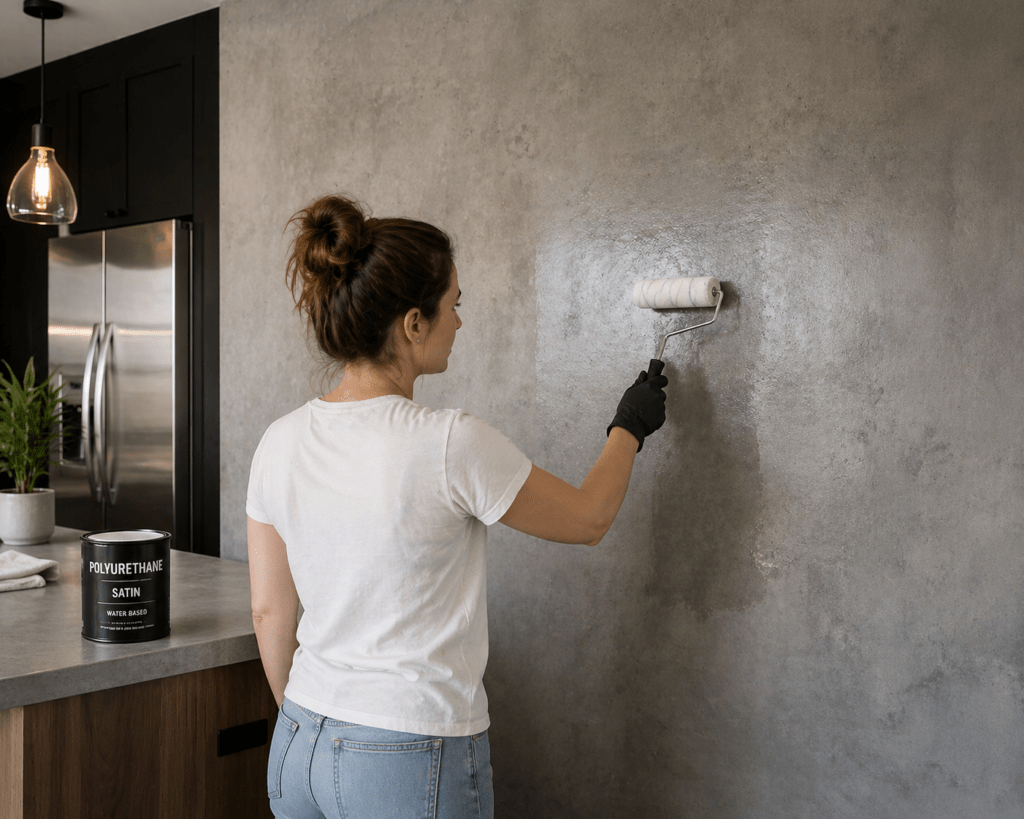
1. Polyurethane Sealer (Best Overall)
Where it shines: Bathrooms, kitchens, high-use walls
Why it works:
- Excellent moisture resistance
- Durable against cleaning and wear
- Available in matte, satin, or gloss
What to watch for:
- Can slightly deepen color (usually a good thing)
- Requires careful, even application
👉 If you’re only choosing one sealer type for most projects, this is it.
2. Acrylic Sealer (Best for Dry Areas)
Where it shines: Accent walls, living rooms, bedrooms
Why it works:
- Easy to apply
- Dries fast
- Budget-friendly
Trade-offs:
- Less durable
- Not ideal for moisture exposure
👉 This is a good starter option—but don’t rely on it in bathrooms unless paired with a stronger topcoat.
3. Epoxy Sealer (Best for Maximum Protection)
Where it shines: Showers, commercial spaces, heavy-duty areas
Why it works:
- Extremely waterproof
- Highly durable
- Chemical-resistant
Trade-offs:
- More complex to apply
- Often higher gloss finish
- Less forgiving for DIY
👉 This is overkill for most walls—but exactly what you want in high-moisture zones.
4. Wax Finish (Best for Look, Not Protection)
Where it shines: Decorative walls only
Why people use it:
- Soft, natural finish
- Enhances depth and variation
Reality check:
- Minimal moisture protection
- Needs frequent reapplication
👉 Looks great… but it’s not a real sealer on its own.
What Actually Works in Bathrooms
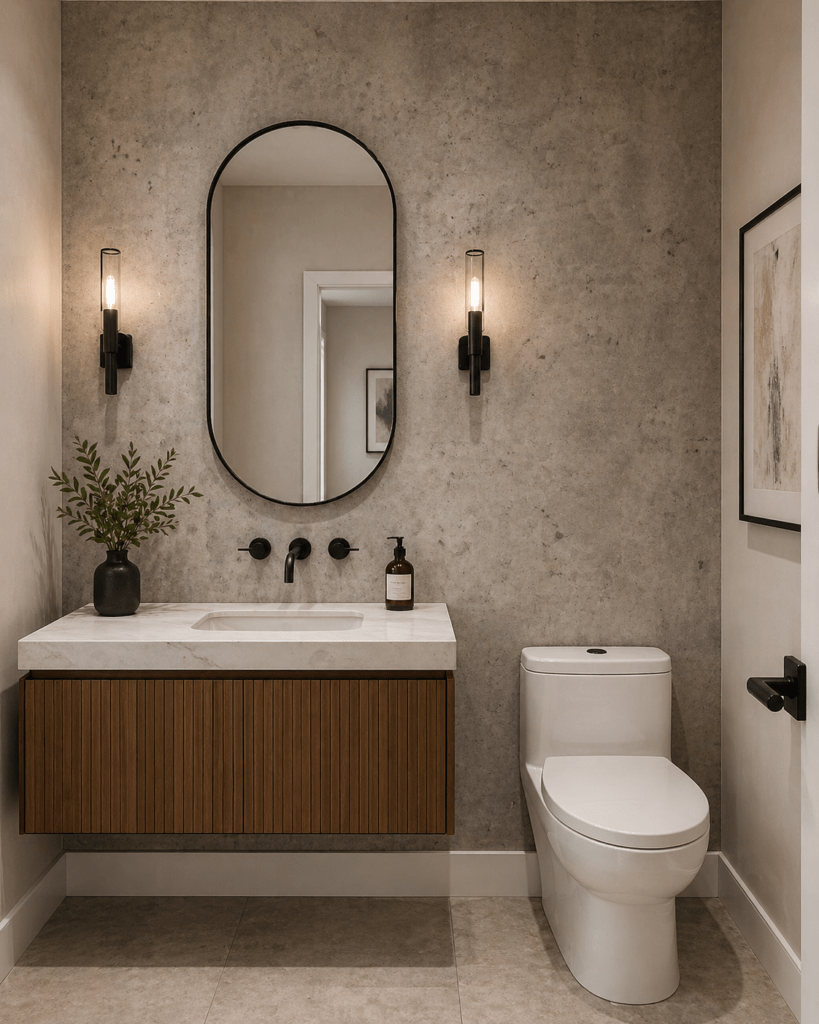
If you’re sealing faux concrete in a bathroom, here’s the honest approach:
Dry areas (vanity wall, accent wall):
- Acrylic base + polyurethane topcoat
Moderate moisture (outside splash zones):
- 2–3 coats of polyurethane
High moisture (shower walls):
- Waterproof system + epoxy or high-performance polyurethane
👉 Anything less, and you’re relying on luck.
Biggest Sealer Mistakes (Avoid These)
1. Not Using Enough Coats
One coat is almost never enough.
- Minimum: 2 coats
- Ideal: 3 coats in bathrooms
2. Rushing Dry Time
If layers don’t cure properly:
- Adhesion fails
- Protection weakens
👉 Follow dry times exactly—even if it slows you down.
3. Skipping Edge and Corner Coverage
Water finds weak spots:
- Corners
- Edges
- Around fixtures
👉 These areas need extra attention.
4. Choosing Matte Without Understanding Trade-Offs
Matte looks amazing—but:
- Slightly less protective than satin/gloss
- Shows water spots more easily
👉 You can still use matte—just use a high-quality product.
Realistic Expectations
What a good sealer does:
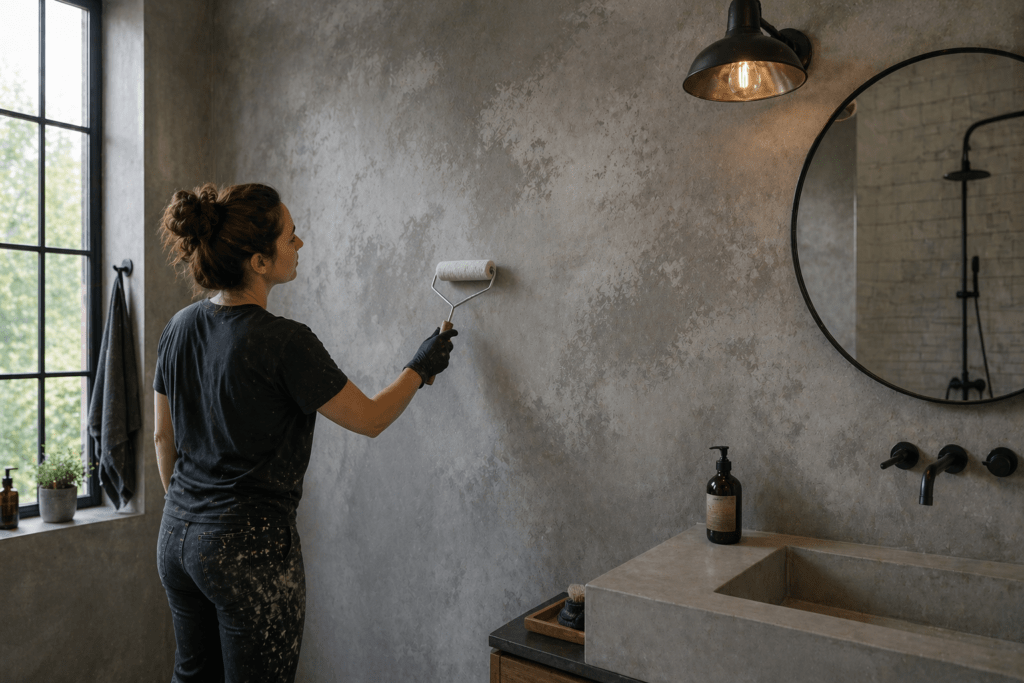
- Repels water
- Makes cleaning easier
- Protects against stains
- Extends lifespan significantly
What it doesn’t do:
- Make the surface indestructible
- Eliminate maintenance
- Prevent all wear forever
👉 Even the best systems need occasional upkeep.
Time to Complete (Sealing Only)
| Step | Time |
|---|---|
| Surface prep | 1–2 hours |
| First coat | 1–2 hours |
| Dry time | 4–24 hours |
| Additional coats | 1–2 days total |
👉 Plan for 1–3 days total, depending on product and conditions.
Product Direction
- Faux concrete wall prep guide (prep before sealing)
- Faux concrete bathroom moisture guide
- Smooth vs textured concrete finish techniques
- Faux concrete mistakes and fixes

Printable Checklist
Faux Concrete Sealing Checklist
- Surface fully dry and cured
- Dust removed completely
- Correct sealer selected for environment
- Minimum 2–3 coats applied
- Dry time followed between coats
- Edges and corners sealed carefully
- Finish inspected for missed spots
- Plan for future resealing
FAQ
What is the best sealer for faux concrete walls?
Polyurethane is the best all-around choice for durability and moisture resistance.
Can I use faux concrete in a shower?
Yes—but only with a full waterproof system and a high-performance sealer like epoxy or specialized polyurethane.
Will sealing change the color?
Yes, slightly. Most sealers deepen the tone and enhance variation.
How often do I need to reseal?
Every 1–3 years, depending on wear and moisture exposure.
Can I leave faux concrete unsealed?
You can—but it will stain, absorb moisture, and degrade much faster.
Resources
- American Concrete Institute – Surface preparation and durability fundamentals
- National Association of Home Builders – Interior wall best practices
- International Code Council – Moisture and wall system guidelines
Conclusion
If you take one thing from this: the sealer is the system.
You can do an average faux concrete finish and make it last with the right sealer… or do a perfect finish and watch it fail because you rushed this step.
Choose based on where the wall lives, apply it carefully, and don’t cut corners. That’s what separates a wall that looks great for a few months from one that still looks great years later.