If you’ve ever stepped back after finishing a “concrete look” wall and thought, “Why does this just look like gray paint?”—you’re not alone. This is one of the most common frustrations people run into with faux concrete finishes.
The good news: it’s almost never the material itself. It’s how it’s applied.
Once you understand what real concrete actually looks like—and more importantly, what it doesn’t look like—you can fix this fast. Let’s break it down so your next wall actually reads like concrete, not a flat painted surface.
What Real Concrete Actually Looks Like
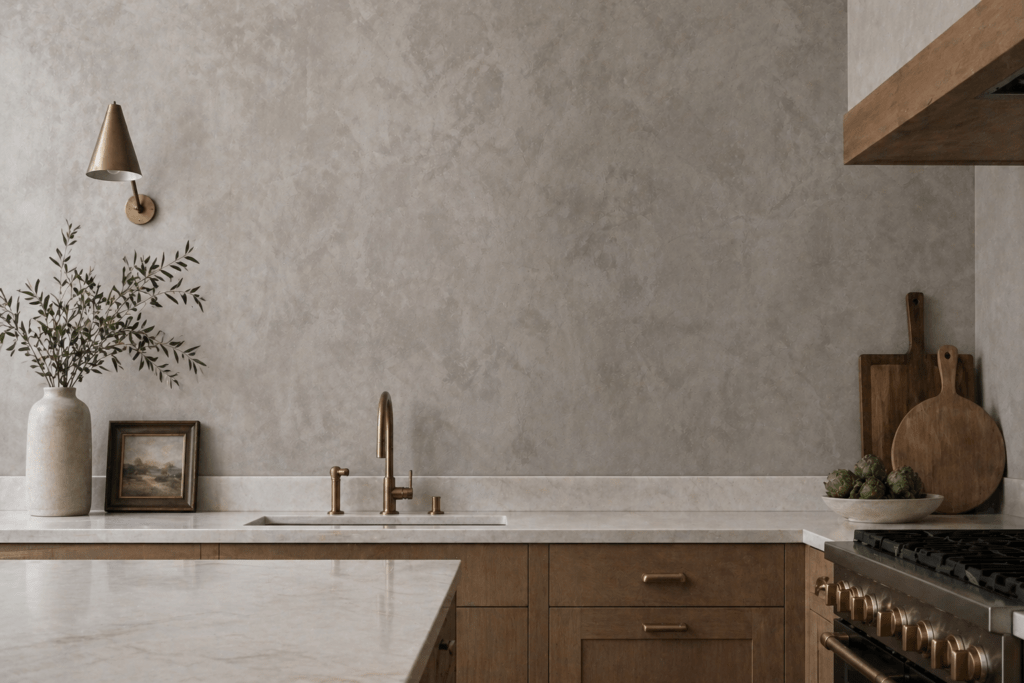
Real concrete isn’t uniform. It has:
- Subtle color variation (warm and cool tones mixed together)
- Depth from layered materials
- Imperfections like trowel marks, burnishing, or slight mottling
- A soft, mineral-like finish—not a painted sheen
Paint, on the other hand, tends to be:
- Flat and uniform
- One-dimensional in color
- Smooth in a synthetic way
If your wall is missing variation and depth, your eye instantly reads it as paint.
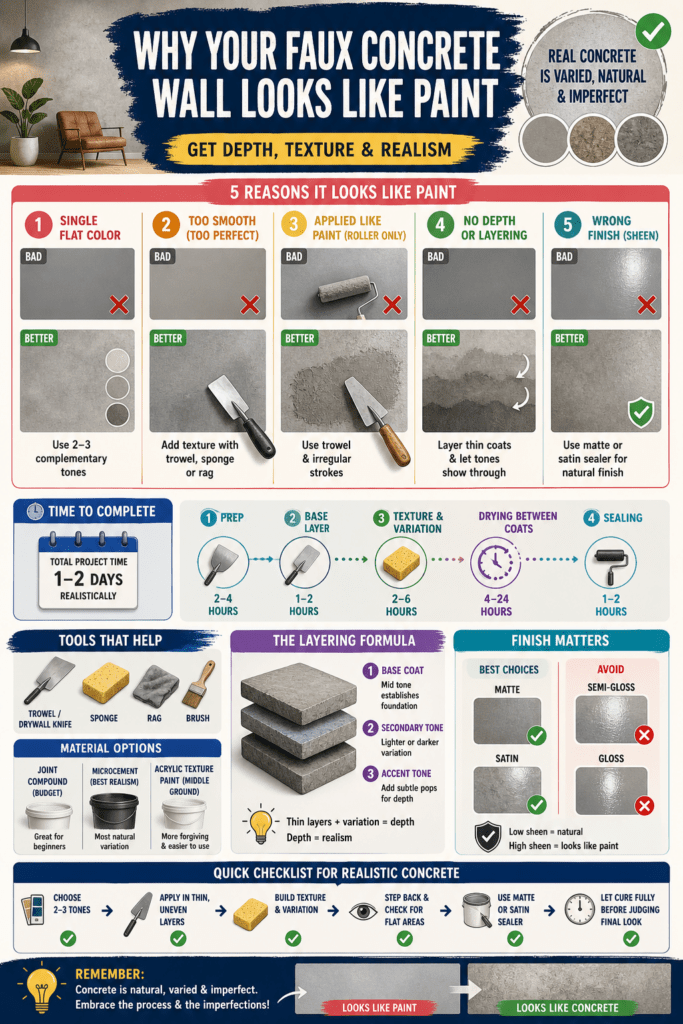
The 5 Biggest Reasons It Looks Like Paint
1. You Used a Single Flat Color
This is the #1 mistake. Concrete is never one shade of gray. Even “plain” concrete has undertones—taupe, blue, green, even slight brown warmth.
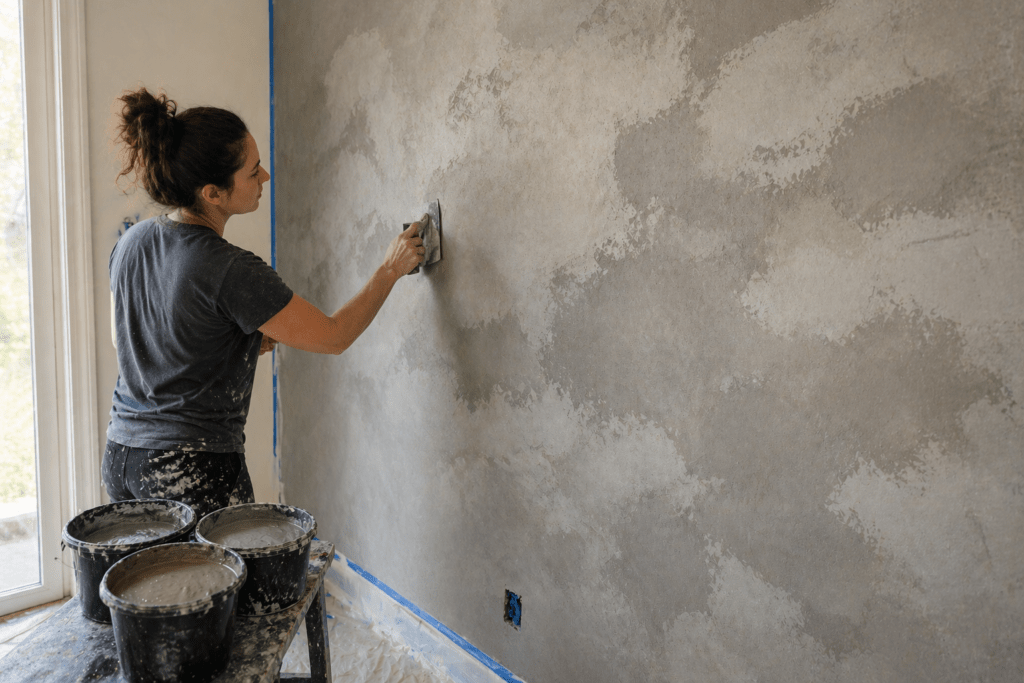
Fix:
Layer at least 2–3 tones:
- Base coat (mid gray or warm gray)
- Secondary tone (lighter or darker variation)
- Optional accent tone for depth
👉 For a full breakdown of color layering techniques, see:
2. The Surface Is Too Smooth (or Too Perfect)
A perfectly smooth wall reads like drywall + paint. Real concrete has texture—even when it’s subtle.
Fix:
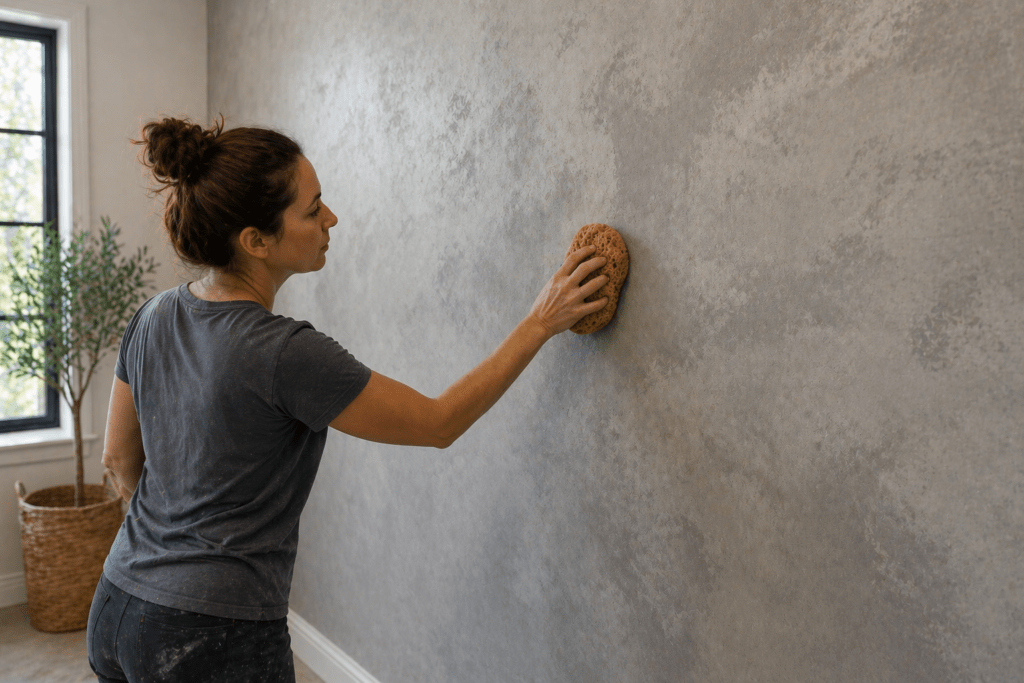
- Use a trowel, sponge, or rag to create variation
- Add micro-texture with joint compound or microcement
- Avoid sanding everything perfectly flat
👉 If you’re starting from scratch:
3. You Applied It Like Paint (Roller-Only Application)
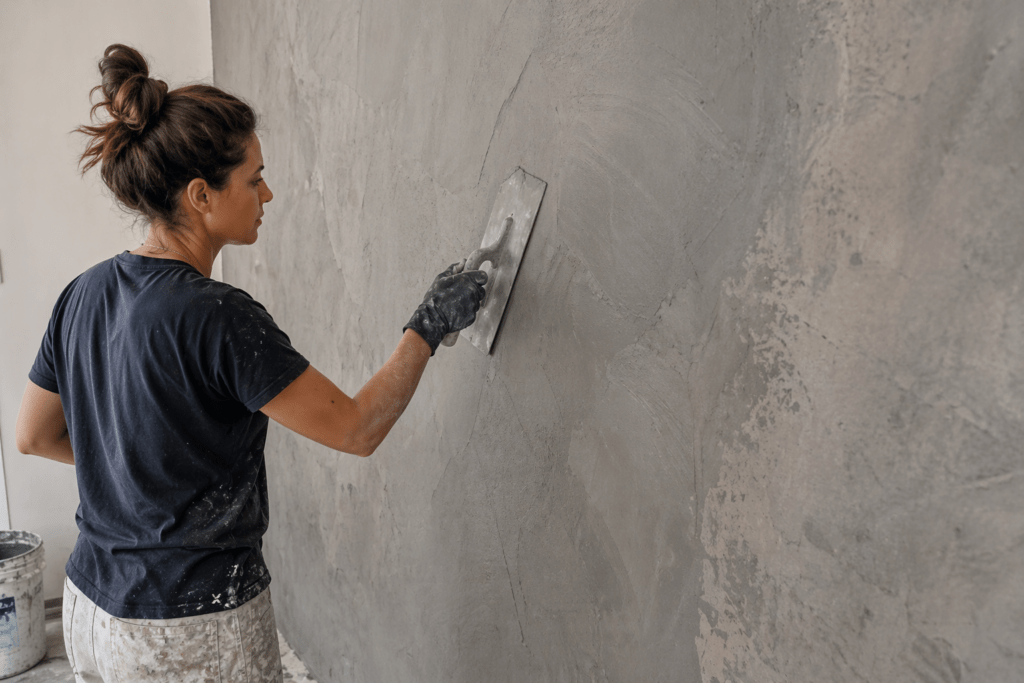
Rolling on a gray coating evenly is the fastest way to get a painted look. Concrete finishes are worked, not just applied.
Fix:
- Apply with a drywall knife or trowel
- Use irregular strokes (don’t overthink patterns)
- Blend edges while material is still wet
👉 Step-by-step method:
4. There’s No Depth or Layering
One coat = one-dimensional. Real concrete has depth because it’s built up in layers.
Fix:
- Apply thin layers instead of one thick coat
- Let layers partially show through each other
- Use translucent washes to add complexity
5. The Finish (Topcoat) Is Wrong
A glossy or overly matte paint-like finish kills realism. Concrete typically has a low-sheen, soft satin or matte mineral finish.
Fix:
- Use a matte or satin sealer (not gloss)
- Consider a penetrating sealer for a natural look
- Avoid thick polyurethane layers unless diluted
👉 Sealer recommendations:
Product Recommendations That Actually Work
If your current result looks painted, it’s often worth upgrading materials slightly:
- Joint Compound (Budget option)
Great for beginners, but requires strong technique to avoid flat results - Microcement (Best realism)
Thinner, more natural variation, easier to achieve depth - Acrylic Texture Paint (Middle ground)
Easier than microcement, more forgiving than joint compound
Time to Complete (Realistic Expectations)
| Step | Time |
|---|---|
| Prep (patch, sand, prime) | 2–4 hours |
| Base layer | 1–2 hours |
| Texture + variation layers | 2–6 hours |
| Drying between coats | 4–24 hours |
| Sealing | 1–2 hours |
Total project time: 1–2 days realistically
Trying to rush this into a single afternoon is one of the fastest ways to end up with a painted look.
Trade-Offs You Should Know
Let’s be honest—getting a realistic concrete finish isn’t just about effort. There are trade-offs:
More realism = more imperfection
- You have to let go of “perfect” walls
- Variation and inconsistency are actually good
More layers = more time
- But also significantly better results
Higher-end materials = easier results
- Microcement costs more but reduces guesswork
If you want something quick and clean, paint is fine.
If you want realism, you need to lean into texture and variation.
Printable Checklist: Fix the “Paint Look”

Before you start:
- Choose 2–3 complementary gray tones
- Decide on texture level (smooth vs textured)
- Gather tools (trowel, sponge, rag)
During application:
- Apply in thin, uneven layers
- Avoid uniform roller patterns
- Blend tones while wet
Before sealing:
- Step back and check for flat areas
- Add depth where needed
- Lightly burnish or soften harsh spots
Finishing:
- Use matte or satin sealer
- Avoid glossy finishes
- Let cure fully before judging final look
Frequently Asked Questions
Why does my wall look like gray paint even after two coats?
Because both coats are likely too uniform. Without variation and texture, multiple coats still read as paint.
Can I fix a wall that already looks painted?
Yes. Add a thin skim coat with a trowel, then layer in color variation. You don’t need to start over.
Is microcement better than joint compound?
For realism, yes. It naturally creates variation and depth more easily, but it costs more.
Should I use a sponge or trowel?
Both. Trowel for structure, sponge for soft variation. Using only one usually looks incomplete.
Does sealer really make a difference?
Absolutely. A wrong sheen level can instantly make a realistic wall look fake.
Conclusion
If your wall looks like paint, it’s not because you “did it wrong”—it’s because the process leaned too heavily on painting techniques instead of finishing techniques.
The shift is simple but important:
- Stop thinking like a painter
- Start thinking like you’re mimicking a natural material
Focus on layering, variation, and imperfection, and the transformation is dramatic. Most people are only one or two adjustments away from a wall that finally looks like real concrete.