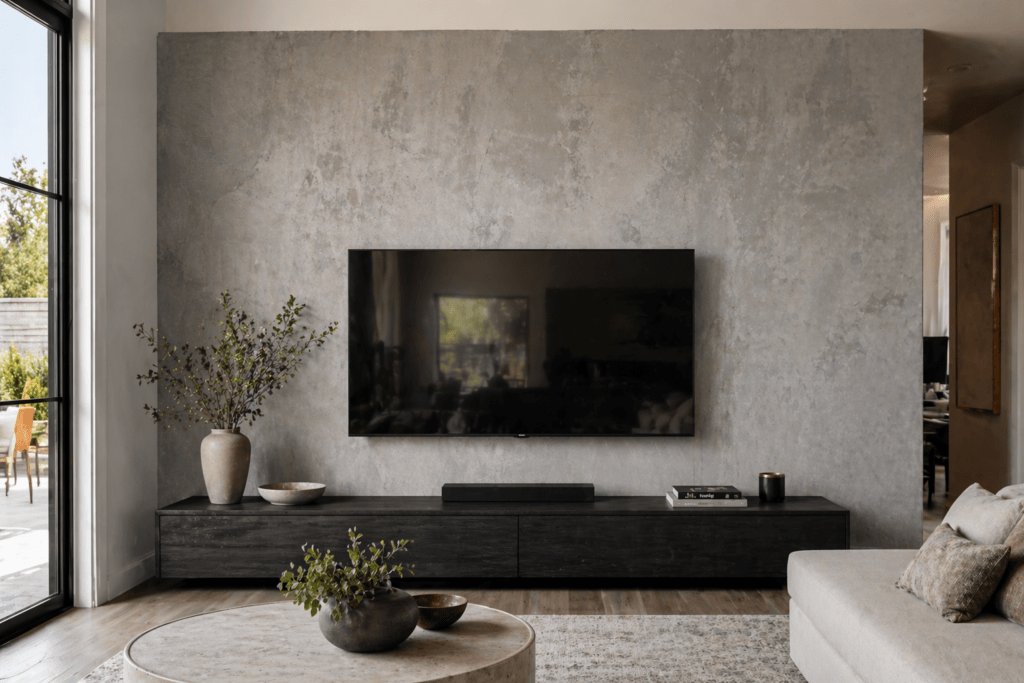
If you want a concrete-look wall without the cost or complexity of microcement, joint compound is the sweet spot. It’s inexpensive, easy to work with, and—done right—can look surprisingly close to real concrete.
I’ve used this method on everything from accent walls to full room makeovers, and here’s the truth: it’s one of the most forgiving ways to get a high-end look on a DIY budget. But it still requires some intention. Slapping mud on a wall randomly won’t get you there.
Why Use Joint Compound for Faux Concrete?
Before you start, make sure this method fits your goal.
Best for:
- Budget-friendly projects
- DIY-friendly applications
- Custom texture (smooth → industrial)
- Accent walls, bedrooms, living rooms
Not ideal for:
- High-moisture areas (unless sealed well)
- Ultra-smooth, seamless luxury finishes (microcement is better)
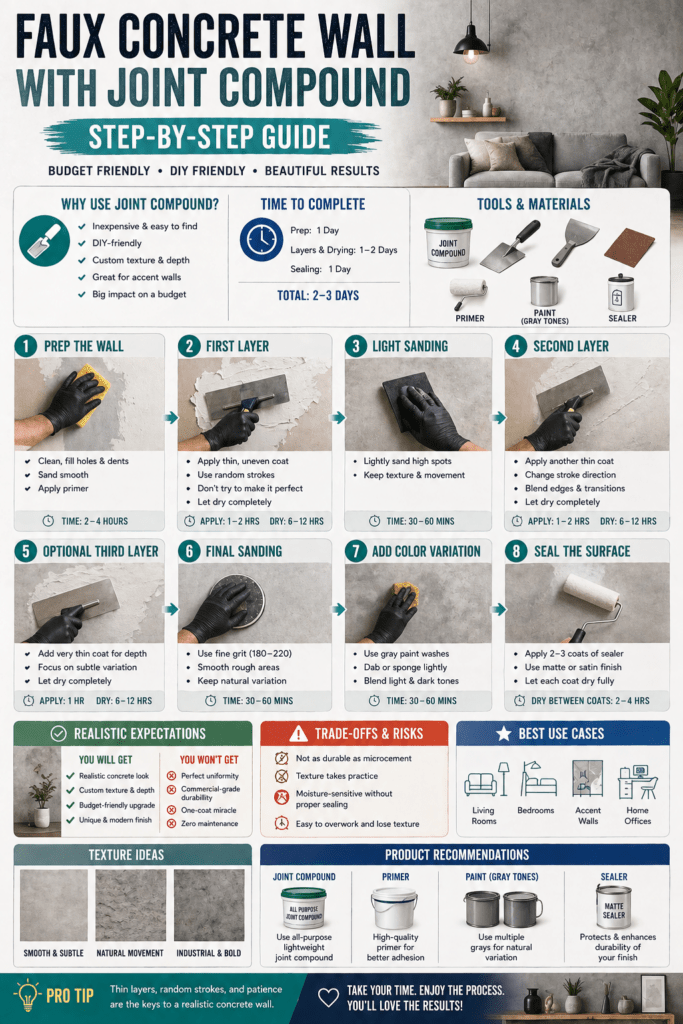
Tools & Materials You’ll Need
- All-purpose joint compound
- Putty knife or drywall trowel (10–14”)
- Sandpaper (120–220 grit)
- Primer
- Paint (gray tones for depth)
- Sealer (matte or satin polyurethane)
👉 Full material breakdown:
https://www.concretewalldesigns.com/best-faux-concrete-wall-materials/
Step-by-Step: How to Create a Faux Concrete Wall
Step 1: Prep the Wall
This step sets the foundation for everything.
- Clean dust, grease, and residue
- Fill holes or dents
- Lightly sand the surface
- Apply primer
Goal: smooth, clean, stable surface
Time: 2–4 hours
Step 2: Apply First Layer of Joint Compound
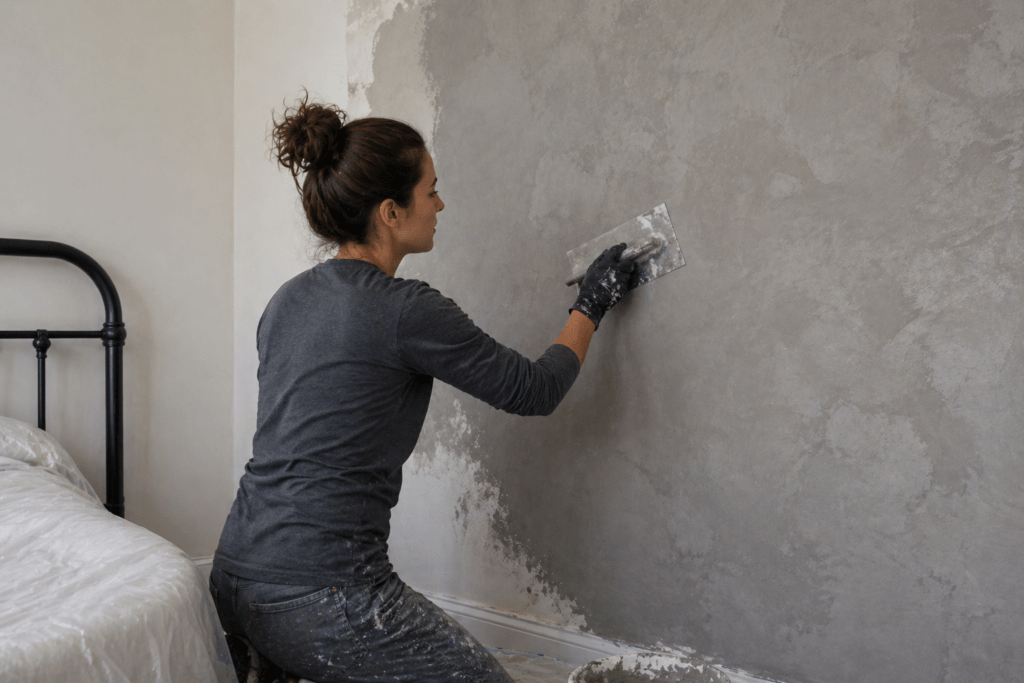
Now you’re building your base texture.
- Use a wide trowel or putty knife
- Apply a thin, uneven coat
- Use random strokes (no patterns)
Important:
Don’t try to make it look finished. This layer creates movement. Let it dry fully.
Time:
- Apply: 1–2 hours
- Dry: 6–12 hours
Step 3: Light Sanding
Once dry:
- Lightly sand down high spots
- Keep some texture intact
You’re shaping—not flattening.
Step 4: Apply Second Layer
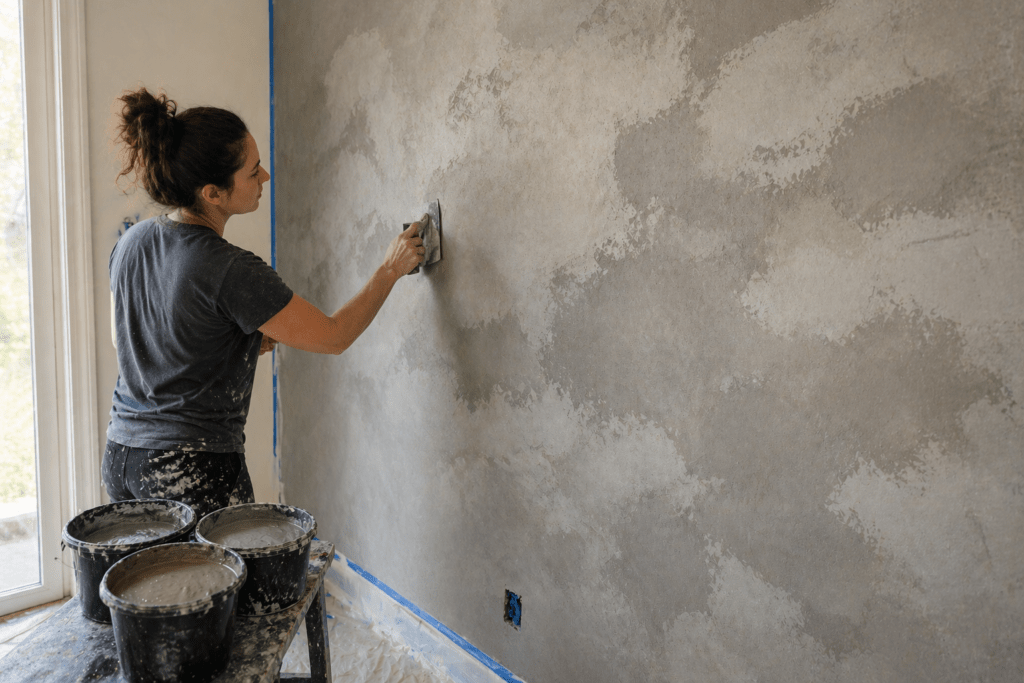
This is where the wall starts to look like concrete.
- Apply another thin coat
- Change your stroke direction
- Blend edges and transitions
Pro tip:
Use varying pressure to create subtle tonal variation. Let dry completely.
Step 5: Optional Third Layer (For Depth)
If you want a more realistic finish:
- Add a very thin third coat
- Focus on soft variation, not heavy texture
This step separates “DIY-looking” from “designer-looking.”
Step 6: Final Sanding
- Use finer grit (180–220)
- Smooth rough edges
- Keep natural variation
Too much sanding = flat, lifeless finish.
Step 7: Add Color Variation (Optional but Powerful)
Real concrete isn’t one flat color.
- Use diluted gray paint washes
- Dab or sponge lightly
- Blend tones (light + dark gray)
👉 Technique breakdown:
https://www.concretewalldesigns.com/how-to-make-faux-concrete-look-real/
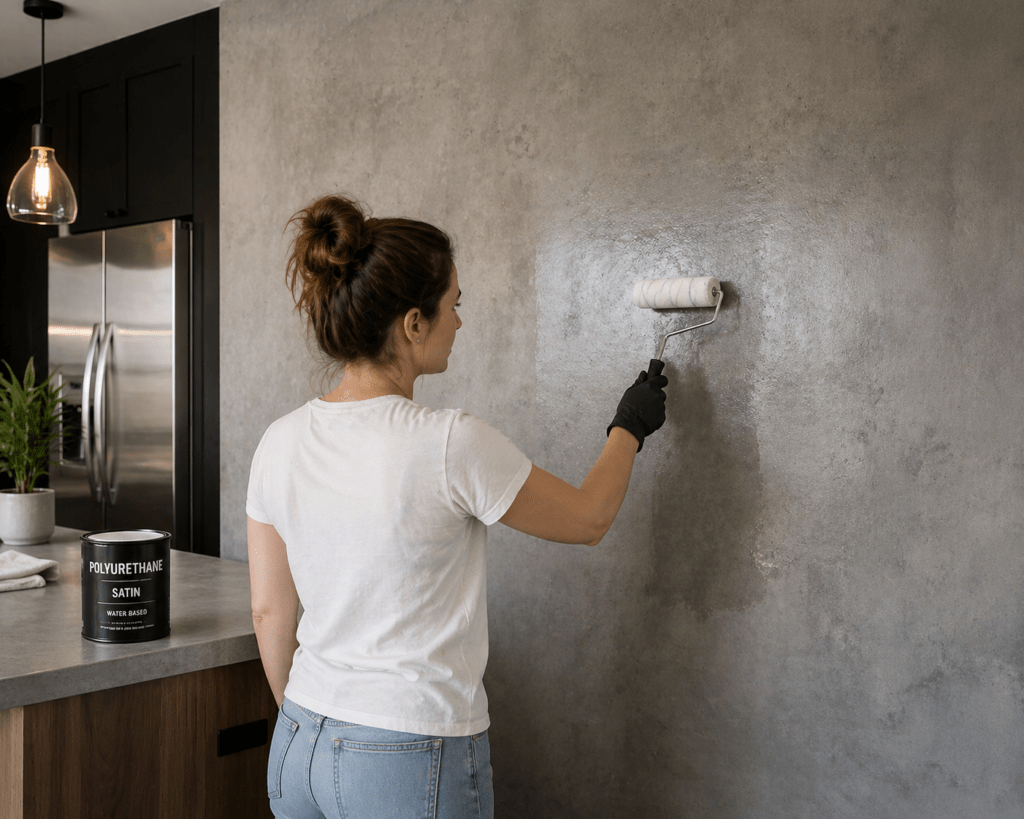
Step 8: Seal the Surface
Sealing is what makes this practical—not just decorative.
- Apply 2–3 coats of sealer
- Use matte for natural look
- Use satin for durability
Especially important for:
- Kitchens
- High-traffic areas
Time to Complete
| Stage | Time |
|---|---|
| Prep | 1 day |
| Layers + Drying | 1–2 days |
| Sealing | 1 day |
Total: 2–3 days realistically
Trade-Offs and Risks
1. Not as Durable as Microcement
Joint compound is softer:
- Can dent or scratch easier
- Needs a good sealer for protection
2. Texture Takes Practice
Too uniform → looks fake
Too rough → looks messy
You want controlled randomness.
3. Moisture Sensitivity
Without proper sealing:
- Water can damage surface
- Stains can soak in
4. Easy to Overwork the Surface
Beginners tend to:
- Keep smoothing too much
- Lose texture completely
Stop earlier than you think.
Realistic Expectations
What you’ll get:
- A convincing concrete-style finish
- A unique, custom wall
- A budget-friendly upgrade
What you won’t get:
- Perfect uniformity
- Commercial-grade durability
- A one-coat miracle
This is a layered process—and that’s what makes it look real.
Printable Checklist

Before You Start
- Choose texture style (smooth or industrial)
- Pick gray tone palette
- Test on sample board
Prep
- Clean wall
- Fill imperfections
- Sand surface
- Apply primer
Application
- Apply first coat
- Let dry fully
- Sand lightly
- Apply second coat
- Add optional third coat
Finish
- Final sanding
- Add color variation (optional)
- Apply 2–3 sealer coats
Frequently Asked Questions
Is joint compound good for beginners?
Yes—this is one of the easiest ways to create a concrete look without specialized tools.
Can I use it in a kitchen backsplash?
Yes, but only if sealed properly with a durable topcoat.
Does it crack?
Not typically, as long as layers are thin and applied over a stable surface.
How do I make it look more realistic?
Use multiple thin layers and subtle color variation. Avoid uniform patterns.
Can I go over painted walls?
Yes, as long as the surface is clean and primed.
Conclusion
If you want the biggest visual upgrade for the lowest cost, this method is hard to beat. Joint compound gives you flexibility, control, and a realistic finish—without needing specialized materials or advanced skills.
Just remember: Thin layers, controlled texture, and patience. That’s what turns drywall mud into a wall that looks like poured concrete.