
If you’re chasing that soft, modern “concrete wall” look, you’ve probably run into these three options: skim coat, microcement, and Venetian plaster. On paper, they all sound similar. In reality, they behave very differently—both during application and years down the road.
I’ve seen people pick the wrong one for their space and end up frustrated—either because it didn’t look realistic, cracked too easily, or cost way more than expected. So let’s break this down in a practical way so you can choose confidently.
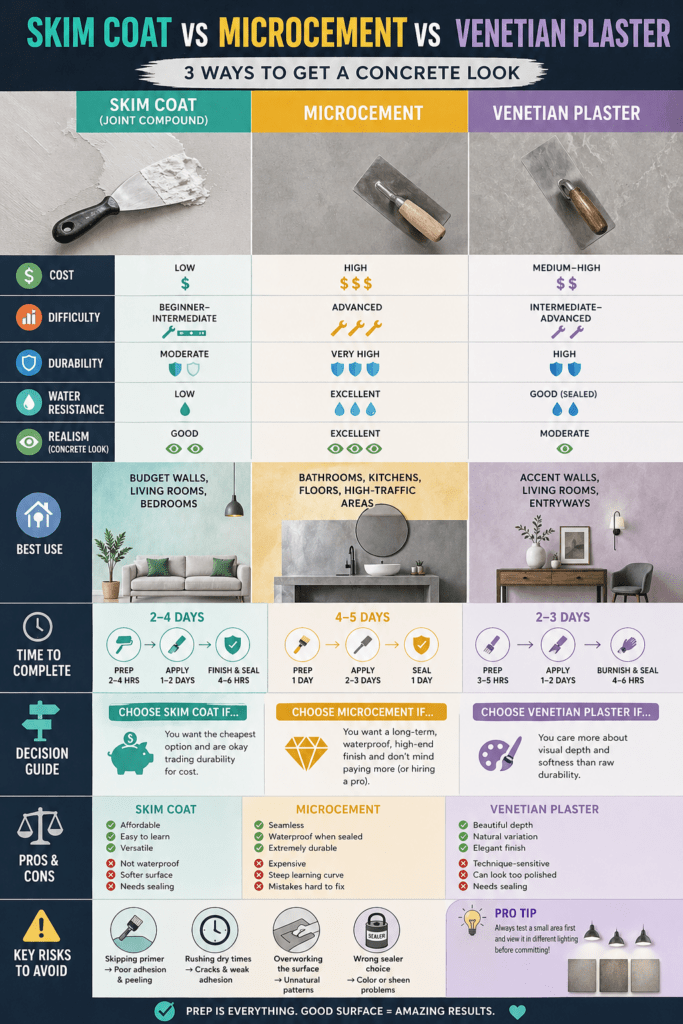
Quick Comparison Snapshot
| Feature | Skim Coat | Microcement | Venetian Plaster |
|---|---|---|---|
| Cost | Low | High | Medium–High |
| Difficulty | Beginner–Intermediate | Advanced | Intermediate–Advanced |
| Durability | Moderate | Very High | High |
| Water Resistance | Low | Excellent | Good (sealed) |
| Realism (Concrete Look) | Good | Excellent | Moderate |
| Best Use | Budget walls | Bathrooms, kitchens, floors | Decorative walls |
1. Skim Coat (Joint Compound Finish)
What it actually is
A skim coat is just a thin layer (or multiple layers) of joint compound spread over drywall to create a smooth or lightly textured surface.
Where it shines
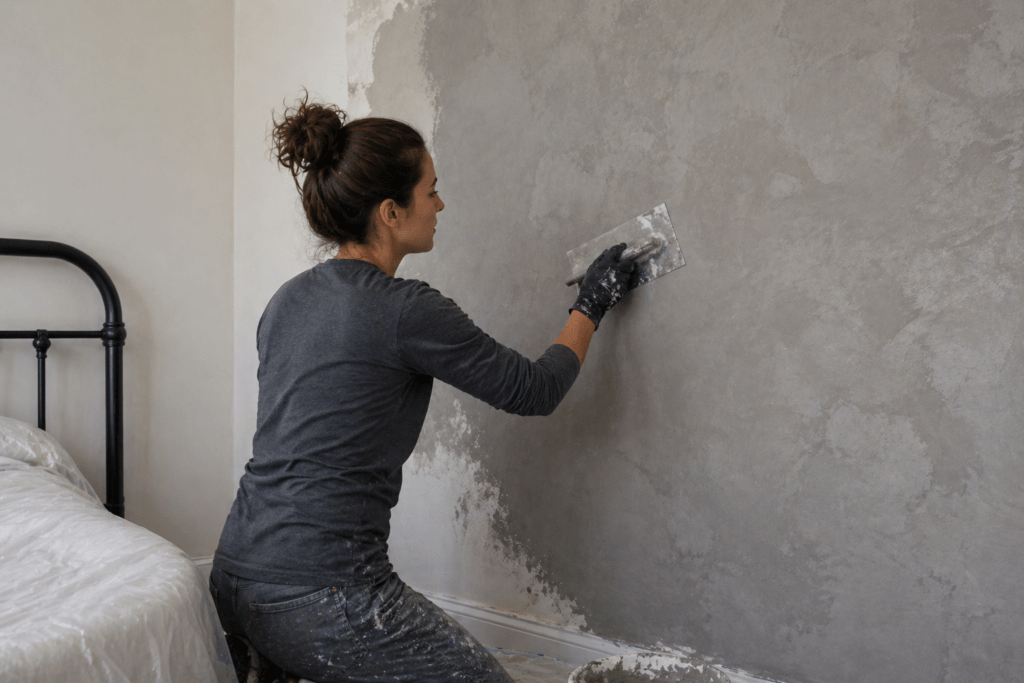
If you’re working on a budget or testing out faux concrete for the first time, skim coating is the easiest entry point. You can tint it, layer it, and sand it to create surprisingly convincing results.
Trade-offs (this matters)
- Not waterproof (bad for bathrooms)
- Softer surface—can scratch or dent
- Requires sealing if you want durability
Realistic expectations
You can get a solid concrete look—but it takes layering and patience. A single coat won’t cut it. Expect 2–4 passes plus sanding.
Time to complete
- Prep: 2–4 hours
- Application: 1–2 days (including drying time)
- Finishing/sealing: 4–6 hours
2. Microcement (The High-End Workhorse)
What it actually is
A polymer-modified cement coating applied in very thin layers over almost any surface—tile, drywall, wood, even countertops.
Where it dominates
This is the closest thing to “real concrete performance” without pouring actual concrete.
It’s the go-to for:
- Showers
- Kitchen backsplashes
- Floors
- High-traffic areas
Why people choose it
- Seamless (no grout lines)
- Waterproof when sealed
- Extremely durable
- Ultra-modern look
Trade-offs (don’t ignore these)
- Expensive materials
- Steep learning curve
- Mistakes are hard to fix
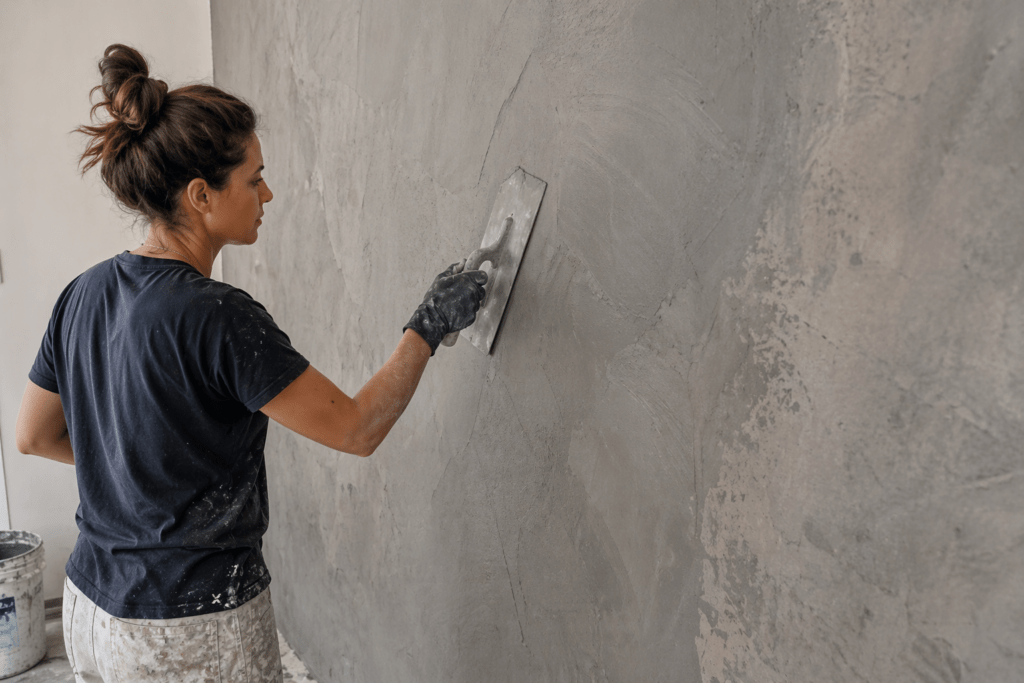
This is not a forgiving DIY material. If you rush it or apply uneven pressure, it shows.
Realistic expectations
The finish looks incredible—but only if applied correctly. This is where pros earn their money.
If you’re not experienced, start with something like:
👉 https://www.concretewalldesigns.com/faux-concrete-wall-prep/
before attempting microcement.
Time to complete
- Prep: 1 full day
- Application: 2–3 days (multiple layers)
- Sealing: 1 day
3. Venetian Plaster (The Artistic Option)
What it actually is
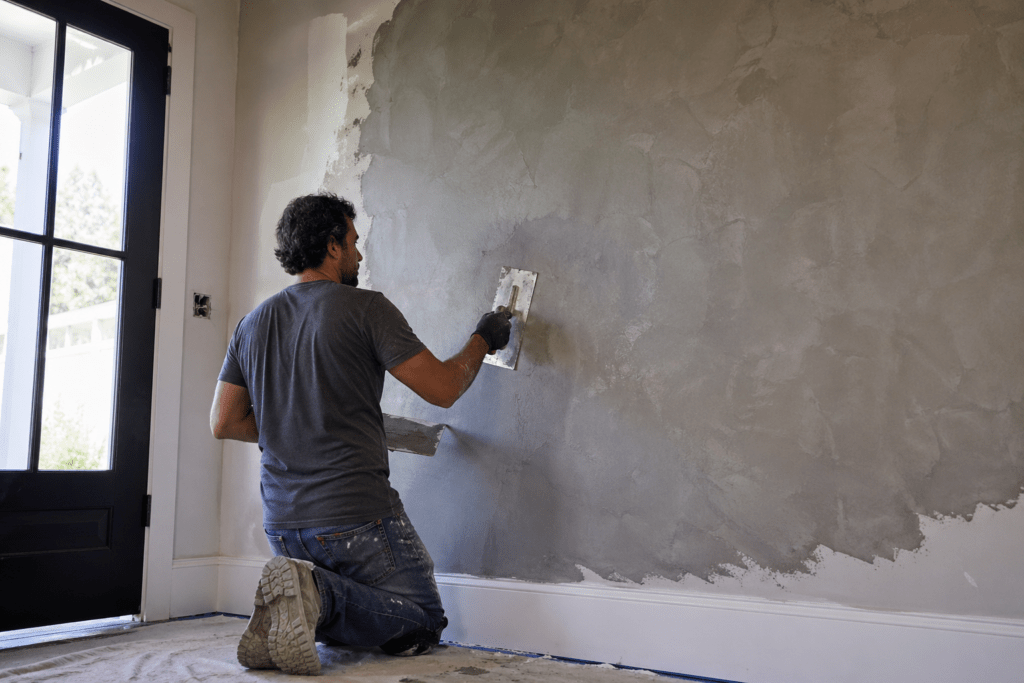
A lime-based plaster applied in thin layers and burnished to create depth, movement, and a subtle sheen.
Where it works best
- Accent walls
- Living rooms
- Entryways
- Spaces where aesthetics matter more than durability
What makes it different
Venetian plaster isn’t trying to perfectly mimic raw concrete. It leans more toward a polished, stone-like finish with variation and softness.
Trade-offs
- Technique-sensitive (trowel marks matter)
- Can look too polished if overworked
- Requires sealing for protection
Realistic expectations
This is where artistry comes in. The same product can look completely different depending on your technique.
If you want guidance on achieving the right look, check:
👉 https://www.concretewalldesigns.com/how-to-make-faux-concrete-look-real/
Time to complete
- Prep: 3–5 hours
- Application: 1–2 days
- Burnishing/sealing: 4–6 hours
Decision Guide (Straightforward and Honest)
If you’re still unsure, here’s the simplest way to decide:
- Choose Skim Coat if:
You want the cheapest option and are okay trading durability for cost. - Choose Microcement if:
You want a long-term, waterproof, high-end finish and don’t mind paying for it (or hiring a pro). - Choose Venetian Plaster if:
You care more about visual depth and softness than raw durability.
Common Risks (That Most People Don’t Talk About)
- Overworking the surface → creates unnatural patterns
- Skipping primer → leads to peeling or uneven absorption
- Rushing dry times → causes cracking or weak adhesion
- Wrong sealer choice → changes color or sheen dramatically
Avoiding these mistakes is half the battle.
Printable Checklist

Before You Start:
- ☐ Clean and repair wall surface
- ☐ Apply proper primer
- ☐ Choose finish type (skim, microcement, or plaster)
- ☐ Test sample area
During Application:
- ☐ Apply thin layers only
- ☐ Vary trowel direction naturally
- ☐ Allow full drying between coats
After Application:
- ☐ Light sanding if needed
- ☐ Apply protective sealer
- ☐ Inspect under different lighting
Frequently Asked Questions
Which looks most like real concrete?
Microcement wins here. Skim coat can get close, but microcement has more authentic depth and hardness.
Can I use skim coat in a bathroom?
Not recommended unless fully sealed—and even then, it’s risky long term.
Is Venetian plaster outdated?
Not at all. It’s just used differently now—more subtle, matte, and modern instead of glossy and dramatic.
Which is easiest for beginners?
Skim coat, no question. It’s forgiving and easy to fix.
Can I apply these over existing walls?
Yes—if properly prepped and primed. Surface prep matters more than the material.
Final Take
If you’re trying to get this right the first time, don’t overcomplicate it.
- Start with skim coat if you’re learning
- Step up to Venetian plaster for design
- Use microcement when durability actually matters
The mistake most people make? They chase the look without thinking about how the wall will actually be used. Get that part right, and everything else gets easier.