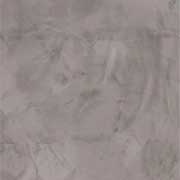
Welcome to the world of achieving a smooth concrete finish on your walls! This guide will walk you through the process step by step, ensuring you can create a flawless and stylish faux concrete wall. Let’s get started on transforming your space with this sleek and sophisticated look.
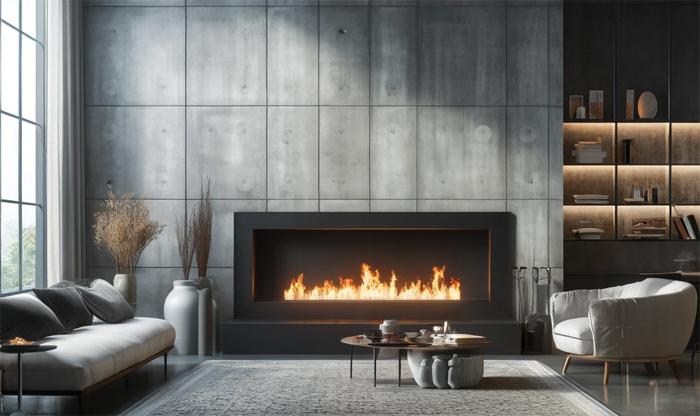
Mastering the Art of Glossy Concrete Finishes:
A polished cement finish is all about refining and enhancing the surface of your walls to create a sleek and sophisticated look. This involves grinding down the top layer of the concrete to reveal its natural beauty and then polishing it using various techniques and tools for that perfect urban-chic aesthetic.



Benefits of Opting for a Buffed Concrete Finish on Your Walls:
Unmatched Durability: This industrial finish is exceptionally durable, making it ideal for high-traffic areas or spaces prone to heavy use. It can withstand constant foot traffic without showing any signs of wear or damage.
Minimal Maintenance Required: Unlike traditional wall finishes that demand frequent upkeep, these rugged walls are incredibly low maintenance. They resist stains, scratches, and moisture, allowing you to enjoy their pristine appearance with minimal effort.
Endless Design Possibilities: With a commercial-style finish, your design options are limitless. Whether you’re aiming for an industrial-inspired look or something more contemporary and refined, this type of finishing can be tailored to suit your unique style preferences.
Reflective Elegance: One standout feature of cement walls is their reflective surface. The glossy sheen adds depth and dimension to any space while effectively brightening up darker areas by reflecting light beautifully.
Environmentally Conscious Choice: Opting for a stone finish is eco-friendly, as concrete is made from natural materials like sand, gravel, water, and cement.
Aesthetics: Industrial finishes are chosen for their stunning visual appeal. The smooth, glossy surface adds sophistication, perfect for industrial-chic or minimalist styles.
Cost-Effective: These finishes are budget-friendly compared to marble or granite. Their durability and low maintenance lead to long-term savings on repairs and replacements.
Getting Your Wall Ready:
To achieve that sleek and professional glossy finish on your wall, proper preparation is key. This crucial step ensures a smooth, durable, and visually appealing result. Here’s how to get your wall ready:
- Clean the Wall: Begin by thoroughly cleaning the wall to eliminate any dirt, dust, or debris. Use a broom or vacuum cleaner to remove loose particles and then wipe down the surface with a damp cloth.
- Fix Any Imperfections: Inspect the wall for cracks, holes, or flaws. Fill these areas using an appropriate patching compound designed for concrete surfaces. Smooth out the patched spots with a putty knife and allow them to dry completely.
- Sanding: Lightly sand the entire wall with fine-grit sandpaper or a sanding block to ensure proper adhesion of the cement finish. This step creates a rough texture that enhances bonding between the existing surface and new coating.
- Apply Primer: Priming is essential as it seals porous surfaces and improves adherence of subsequent layers of polish or sealer. Choose a high-quality primer suitable for concrete walls and apply it evenly using a paint roller or brush following manufacturer instructions.
- Allow Ample Drying Time: After applying primer, allow sufficient time for it to dry completely before moving forward with your project. Follow manufacturer guidelines on drying times which may vary based on environmental conditions like temperature and humidity levels.
Achieving a Smooth Cement Finish: A Step-by-Step Guide
Creating a commercial finish on your walls is an intricate process that demands precision and expertise. To achieve the desired sleek and industrial look, follow these steps carefully:
- Surface Preparation: Before diving into the polishing process, ensure the wall surface is clean and free of any imperfections. Repair cracks and remove debris for a smooth canvas to work with.
- Applying Bonding Agent: For optimal adhesion between the concrete and polish, apply a bonding agent evenly using a brush or roller. This step creates a strong bond that prevents future delamination.
- Grinding: Grinding is crucial in removing existing coatings, stains, or blemishes from the wall surface. Use diamond abrasive pads with progressively finer grits to open up pores for better penetration of densifiers.
- Densifying: After grinding, apply a densifier to harden and strengthen the concrete surface. Densifiers create crystals within the material structure for enhanced durability and reduced dusting.
- Polishing: Once the densifier has cured, start polishing with coarse-grit diamond pads. Gradually move to finer grits until you achieve your desired level of shine through systematic overlapping motions.
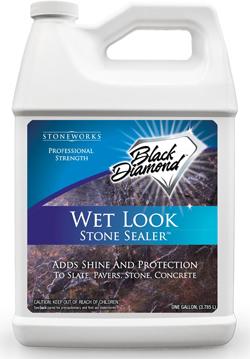
- Sealing: Protect your polished finish by applying a sealer that acts as a barrier against stains and daily wear. Choose from topical or penetrating sealers based on your needs.
- Buffing: Enhance shine further by buffing the sealed surface using high-speed buffers or burnishing machines for that final lustrous look.