
If you want a faux concrete wall that actually looks real—not painted-on or overly decorative—microcement is the finish that gets you there. It’s what designers use when they want that seamless, modern concrete look without pouring actual concrete.
I’ve worked through enough of these projects to tell you this upfront: microcement isn’t hard in theory, but it’s unforgiving in execution. The difference between “high-end showroom” and “DIY regret” comes down to prep, thin layers, and patience.
Why Choose Microcement for a Faux Concrete Wall?
Before jumping in, make sure this is the right system for your project.
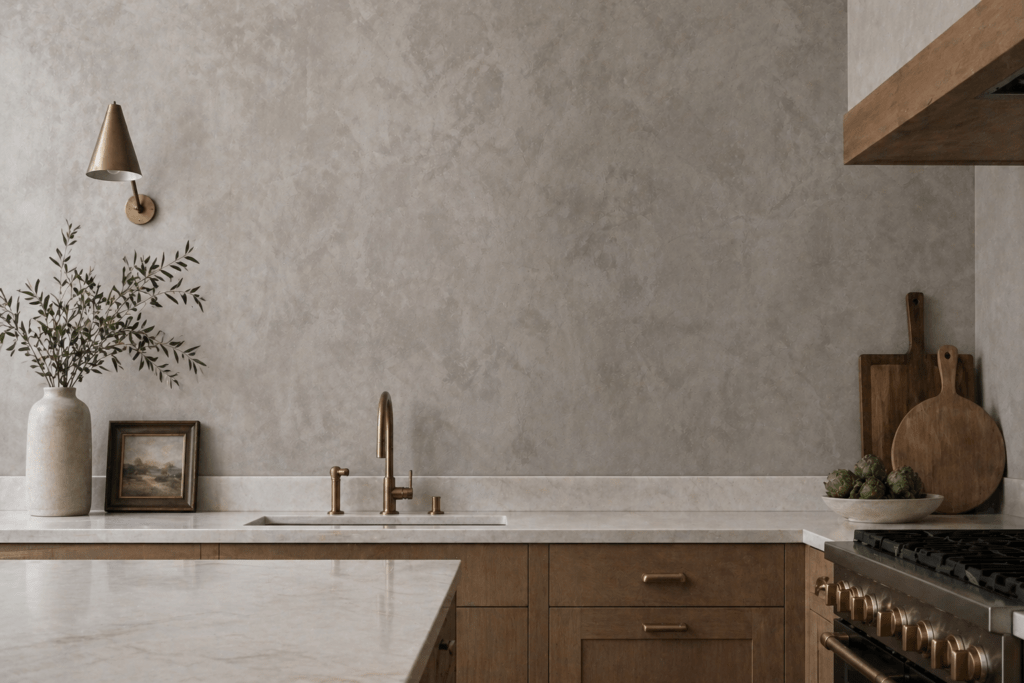
Microcement works best if you want:
- A seamless, grout-free finish
- Realistic concrete texture and depth
- A thin overlay (2–3 mm) over drywall or tile
- A durable, water-resistant surface (with proper sealer)
Skip it if:
- You want a quick one-day project
- You’re not willing to sand between coats
- You expect a perfectly uniform, painted-wall look
👉 For a full comparison:
https://www.concretewalldesigns.com/skim-coat-vs-microcement-vs-venetian-plaster/
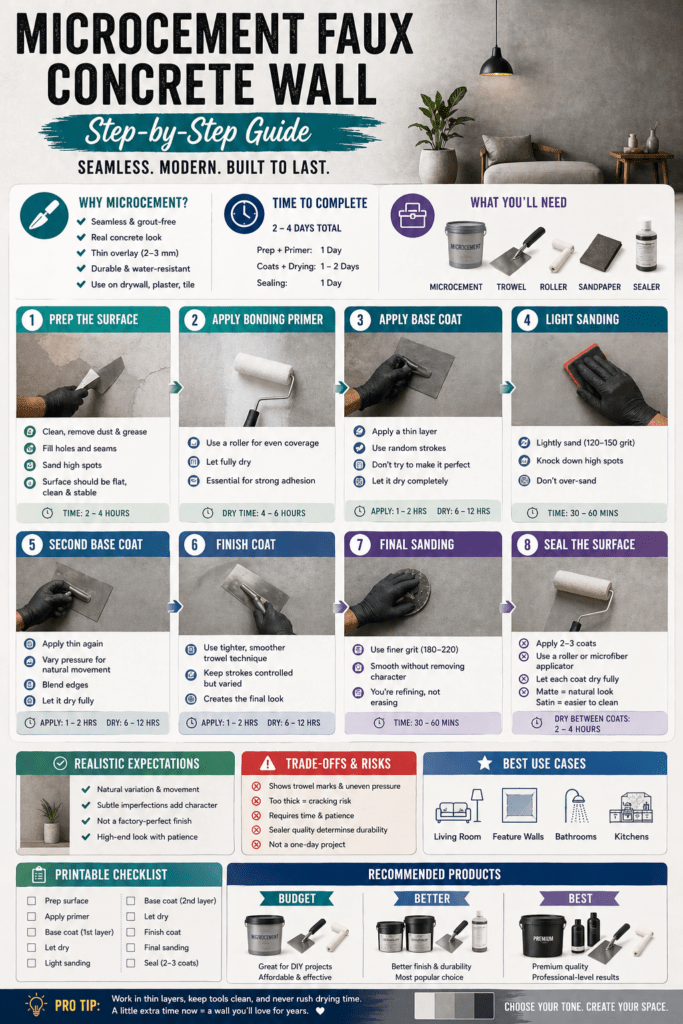
Tools & Materials You’ll Need
- Microcement base coat + finish coat
- Bonding primer
- Steel trowel (rounded edges)
- Sandpaper (120–220 grit)
- Microfiber roller
- Polyurethane sealer (matte or satin)
Step-by-Step: How to Create a Microcement Wall
Step 1: Prep the Surface (Most Important Step)
This is where most failures happen.

What you’re aiming for:
- Flat
- Clean
- Stable
What to do:
- Remove grease, dust, and residue
- Fill holes and seams
- Sand down high spots
- Prime the surface
Pro tip:
If you can feel imperfections with your hand, they’ll show through the finish.
Time: 2–4 hours
Step 2: Apply Bonding Primer
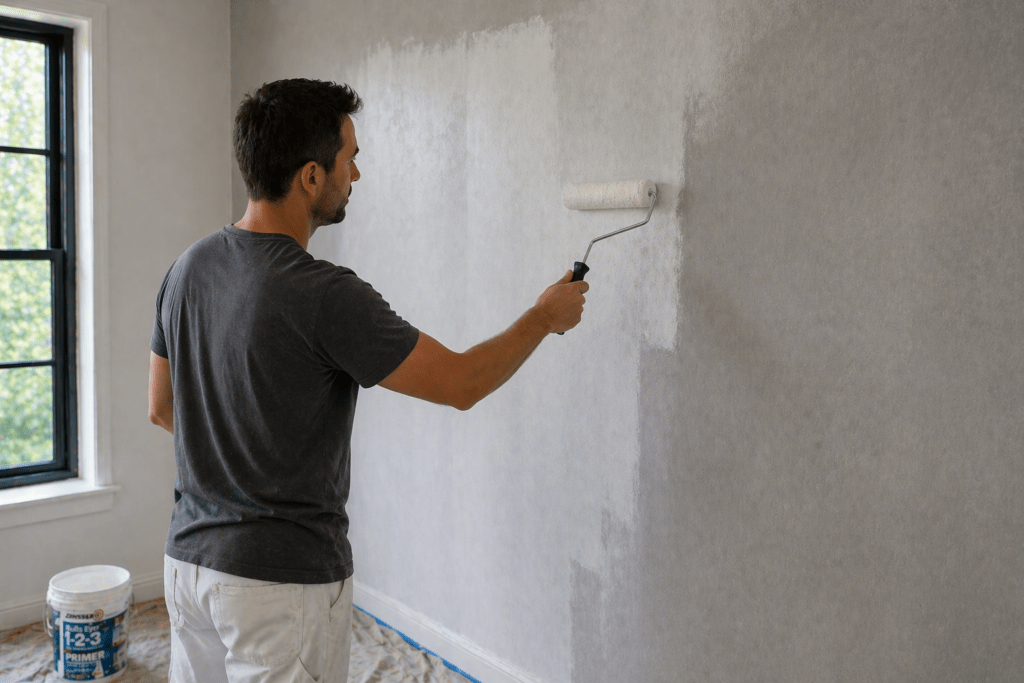
Primer isn’t optional—it’s what allows microcement to stick.
- Use a roller for even coverage
- Let fully dry (usually 4–6 hours)
Why it matters:
Skipping this step leads to peeling or weak adhesion later.
Step 3: Apply Base Coat (First Layer)
Now you start building the concrete look.
- Apply a thin layer with a steel trowel
- Keep strokes random (not patterned)
- Don’t try to make it perfect
Key mindset:
You’re creating texture, not a finished look.
Let it dry completely.
Time:
- Apply: 1–2 hours
- Dry: 6–12 hours
Step 4: Light Sanding
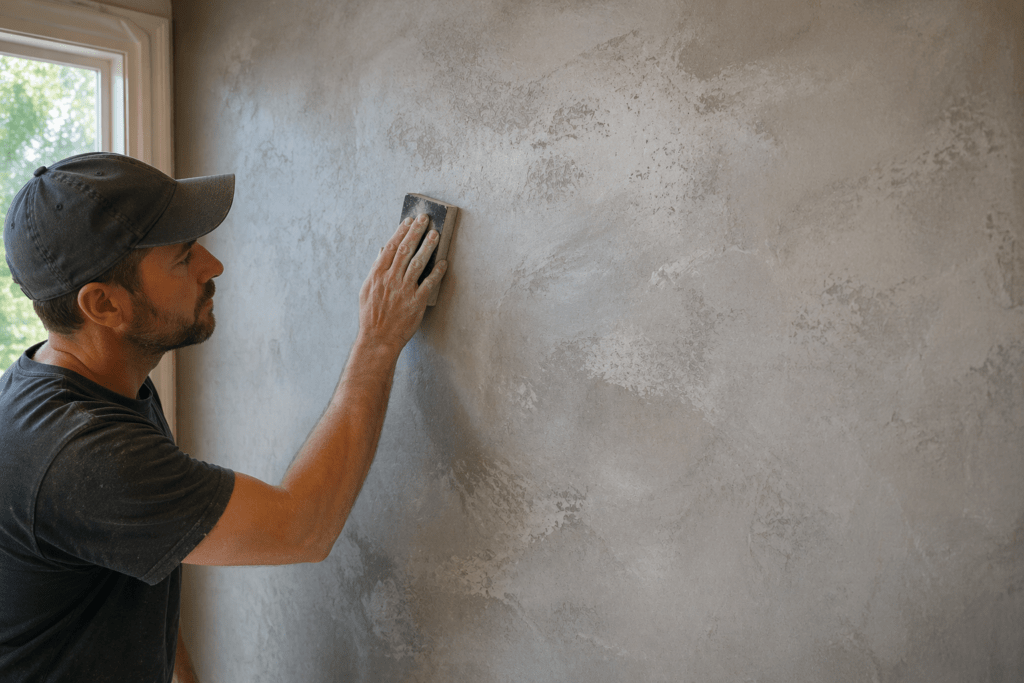
Once dry:
- Lightly sand the surface (120–150 grit)
- Knock down high spots only
Don’t over-sand or you’ll flatten the texture too much.
Step 5: Second Base Coat
This layer adds depth and variation.
- Apply thin again (always thin)
- Slightly vary pressure for natural movement
- Blend edges as you go
Let it dry fully.
Time:
- Apply: 1–2 hours
- Dry: 6–12 hours
Step 6: Finish Coat (Where It Comes Together)
This is the layer that gives you that realistic concrete look.
- Use a tighter, smoother trowel technique
- Keep strokes controlled but varied
- Avoid repeating patterns
This is where experience shows—but even beginners can get great results by staying subtle.
👉 For technique ideas:
https://www.concretewalldesigns.com/how-to-make-faux-concrete-look-real/
Step 7: Final Sanding
- Use finer grit (180–220)
- Smooth without removing character
You’re refining—not erasing.
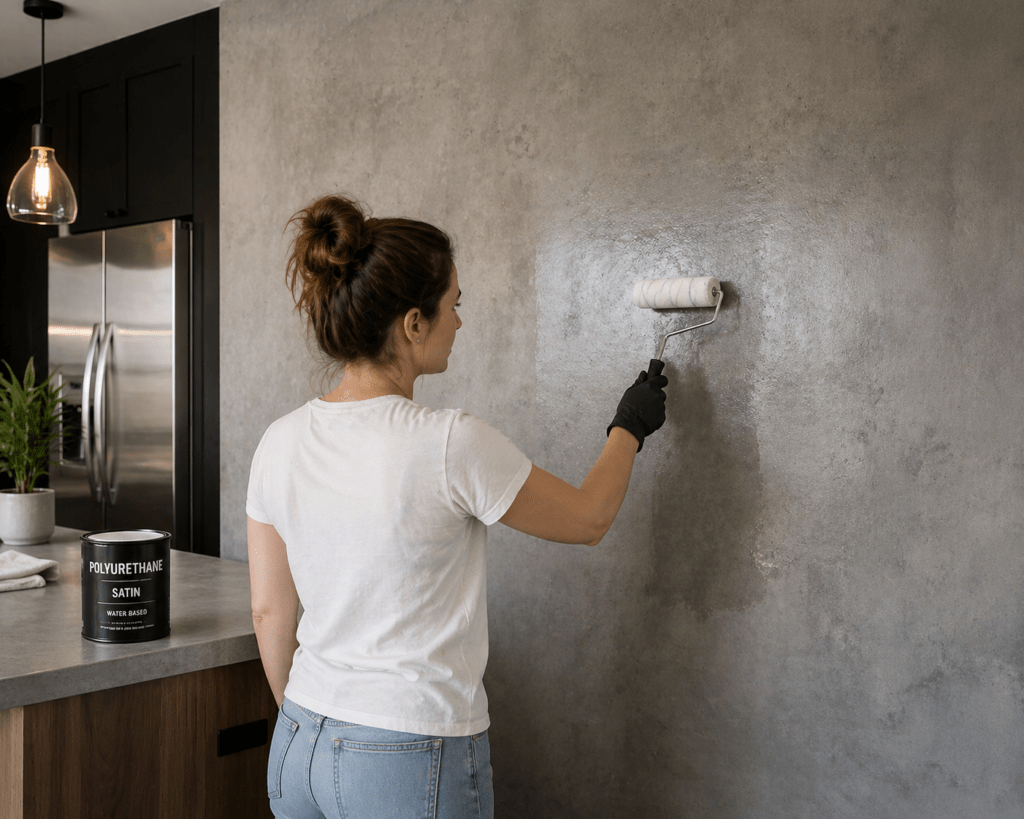
Step 8: Seal the Surface
This step determines durability.
- Apply 2–3 coats of polyurethane sealer
- Use a roller or microfiber applicator
- Let each coat dry fully
Matte vs Satin:
- Matte → more natural concrete look
- Satin → easier to clean (better for kitchens)
Time to Complete
| Stage | Time |
|---|---|
| Prep + Primer | 1 day |
| Coats + Drying | 1–2 days |
| Sealing | 1 day |
Total: 2–4 days realistically
Trade-Offs and Risks (Be Honest About These)
1. Application Skill Matters
Microcement shows everything:
- Uneven pressure
- Trowel marks
- Overworking areas
There’s no hiding mistakes like paint.
2. Thin Layers Are Non-Negotiable
Too thick = cracking risk
Too rushed = uneven finish
3. Sealing Determines Longevity
A bad sealer job leads to:
- Stains
- Water marks
- Premature wear
4. It Won’t Look Perfect (That’s the Point)
Real concrete has:
- Variation
- Movement
- Subtle imperfections
If you expect perfection, this isn’t your finish.
Realistic Expectations
What you’ll get:
- A high-end, designer look
- A durable surface (when sealed properly)
- A unique, non-repeating finish
What you won’t get:
- Factory-perfect consistency
- Zero maintenance
- A beginner-proof system
Printable Checklist

Before You Start
- Confirm wall is flat and stable
- Choose color tone (warm vs cool gray)
- Test a sample board
Prep
- Clean and degrease
- Fill imperfections
- Sand smooth
- Apply primer
Application
- Apply thin base coat
- Let dry fully
- Sand lightly
- Apply second coat
- Apply finish coat
Sealing
- Apply 2–3 coats
- Allow full cure time
Frequently Asked Questions
Is microcement good for beginners?
It can be—but expect a learning curve. Start with a sample board before your wall.
Can I apply it over tile?
Yes. With proper primer, microcement bonds well to tile surfaces.
Does it crack?
Not if applied in thin layers on a stable surface.
How durable is it?
Very durable when sealed properly. Suitable for kitchens and bathrooms.
How do you clean it?
Use mild cleaners and avoid abrasive scrubbing.
Resources
- American Concrete Institute (concrete surface fundamentals)
https://www.concrete.org - National Association of Home Builders (interior wall best practices)
https://www.nahb.org - International Code Council (wall system guidelines)
https://www.iccsafe.org
Conclusion
If you’re after a true concrete look without the weight, cost, or complexity of real concrete, microcement is one of the best options available.
But here’s the bottom line:
Success isn’t about the product—it’s about the process.
Take your time with prep, apply thin layers, and don’t rush drying. Do that, and you’ll end up with a wall that looks like it came straight out of a high-end design studio.