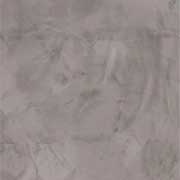
Transforming a mundane wall into a show-stopping focal point is achievable with stone veneer installation. Stone veneer, a thin layer of natural or manufactured stone, can be applied to surfaces like concrete walls. Here, I’ll share valuable tips and insights to ensure a successful installation.

Selecting the Perfect Stone Veneer for Your Wall:
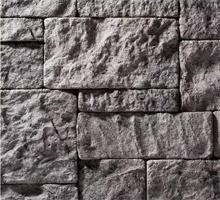
Choosing the right concrete veneer is crucial for aesthetics and durability. Consider these factors:
- Style and Appearance: Select textures, colors and patterns that complement your decor.
- Durability: Choose high-quality materials resistant to fading, cracking and chipping, especially for exterior walls.
- Maintenance: Decide on the maintenance level you’re willing to commit to, from regular sealing to low-maintenance options.
- Budget: Set an allowance and choose a veneer within your financial limits, considering quality and design complexity.
- Compatibility: Confirm the overlay harmonizes with other decor elements in the space.

Essential Tools and Materials:
To achieve a flawless installation, you’ll need the following tools and materials:
- Concrete/Stone Veneer
- Mortar Mix
- Trowel
- Notched Trowel
- Masonry Brush
- Level
- Tape Measure
- Safety Glasses and Gloves
- Chisel Set
- Hammer Drill (optional)
- Wire Mesh/Lath (if necessary)
- Grout Bag
- Joint Tool
- Water Source
Expert Guide to Concrete Veneer Installation:
- Surface Preparation:
- Thoroughly clean the wall surface and repair any cracks.
- Apply Scratch Coat:
- Mix mortar to a peanut butter-like consistency.
- Apply a thin layer of mortar on the wall as the scratch coat.
- Create grooves in the scratch coat for better adhesion.
- Install Metal Lath:
- Cut metal lath sheets into manageable sizes.
- Securely attach metal lath to the scratch coat with galvanized nails or staples.
- Leave gaps between sheets for expansion.
- Prepare Mortar for Stone Installation:
- Follow manufacturer guidelines to prepare mortar with a toothpaste-like consistency.
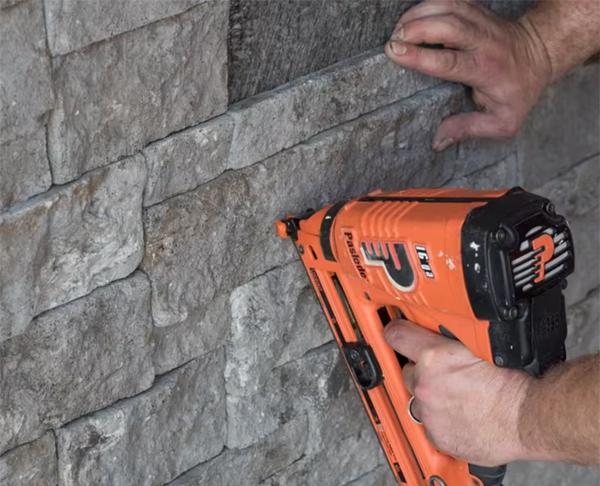
- Apply Mortar and Place Stones:
- Spread mortar on small sections of the wall at a time.
- Press each stone firmly into place within five minutes, ensuring level alignment.
- Repeat until the entire wall is covered.
- Fill Joints:
- Fill gaps between stones with mortar using a grout bag or pointing trowel.
- Smooth out joints for an even finish.
- Clean Excess Mortar:
- Remove excess mortar from stone surfaces before it dries completely using a damp sponge or brush.
- Allow Proper Curing Time:
- Let it cure for at least 24 hours before subjecting it to heavy loads or moisture exposure.
- Optional Sealer Application:
- If desired, follow manufacturer recommendations for applying a sealer after the curing time has passed.
Troubleshooting Common Veneer Issues:
While installation can be challenging, these tips can help:
- Addressing Uneven Surfaces: Apply a scratch coat of mortar for better stone grip.
- Filling Gaps Between Stones: Use a grout bag or trowel to fill gaps with mortar or grout and smooth out joints.
- Securing Loose Stones: Remove, clean, reapply adhesive and reposition loose stones.
- Repairing Cracked Mortar Joints: Replace damaged mortar with fresh mix using a pointing trowel.
- Combatting Stains: Cover stones to prevent spills and clean immediately with a damp cloth or sponge.
Hiring a Professional vs DIY Installation:
Deciding between hiring a professional or opting for a DIY installation depends on various factors. Consider the following:
- Expertise: If you lack experience or confidence in your skills, hiring a professional ensures a high-quality installation.
- Time and Effort: Installing a faux concrete front requires time, effort and attention to detail. Assess whether you have the resources to dedicate to the project.
- Tools and Equipment: DIY installations require the necessary gear. Evaluate whether you have access to or can acquire them.
- Budget: Compare the cost of hiring a professional with the expenses associated with a DIY installation. Consider the potential risks of mistakes that may incur additional costs.
- Complexity of the Project: If the installation involves intricate designs or challenging surfaces, professional expertise may be beneficial.
Weigh these factors proactively to make an informed decision that suits your needs and capabilities.
To Wrap it Up:
To summarize, applying concrete veneer to walls can transform a plain surface into a stunning focal point, adding sophistication to any space. By selecting the appropriate overlay, properly preparing the wall and following the correct installation steps, you can achieve a durable and visually appealing industrial finish.
Whether you opt for a DIY approach or hire a professional, understanding the process and potential challenges is key to a successful result. With the right tools, materials and techniques, you can create a beautiful, lasting feature that enhances your interior design.