
If your faux concrete wall doesn’t turn out right, the problem usually isn’t your finish—it’s your prep.
I’ve seen people spend hours layering, glazing, and burnishing… only to have peeling, blotchy color, or weird texture issues show up later. Almost every one of those problems traces back to what happened before the first coat went on.
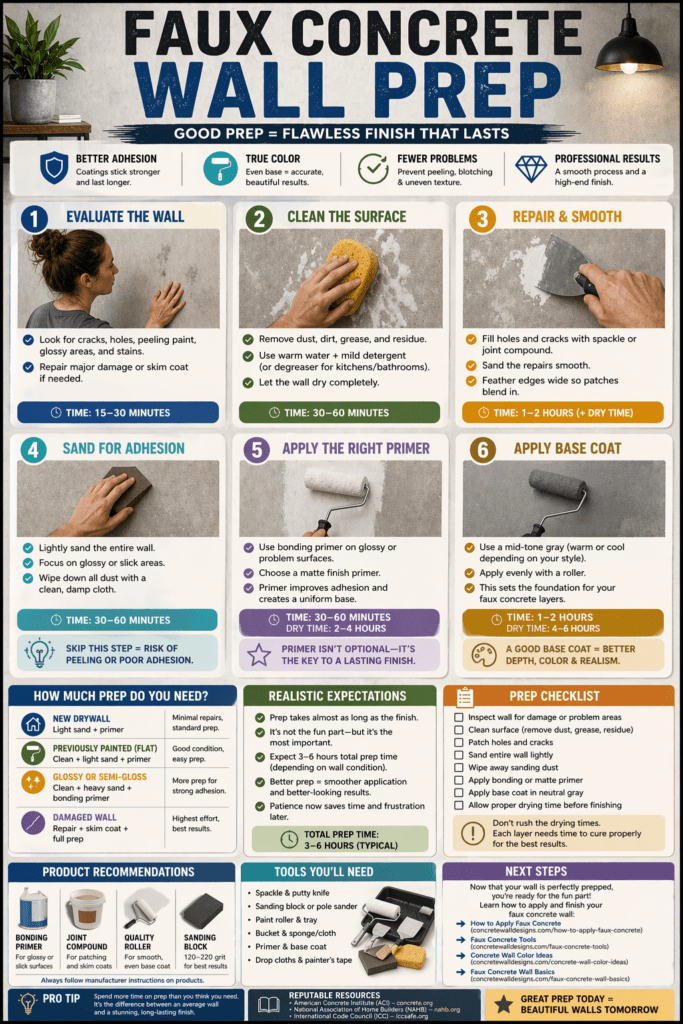
So let’s walk through how to prep a wall properly—the way that gives you a finish that actually sticks, looks realistic, and holds up over time.
Why Prep Matters (More Than the Finish)
Faux concrete products are thin. They don’t hide problems—they highlight them.
If your wall has:
- Dust or grease → poor adhesion
- Glossy paint → coating slides instead of bonds
- Texture inconsistencies → uneven finish
- Repairs not blended → visible patches
…it will all show through.
Think of prep as your foundation. If it’s off, everything on top is compromised.
Step 1: Evaluate the Wall Surface
What to look for:
- Cracks or nail holes
- Peeling paint
- Grease or residue (especially kitchens)
- Glossy or semi-gloss finishes
Decision guidance:
- Minor flaws: quick patch and sand
- Major damage: skim coat or repair first
Time to complete:
- 15–30 minutes inspection
Step 2: Clean the Surface Thoroughly
Why this matters:
Dust and oils are silent failures. You won’t notice until the finish starts lifting.
How to do it:
- Warm water + mild detergent
- Degreaser for kitchens or bathrooms
- Let fully dry
Common mistake:
Skipping this step because the wall “looks clean.”
Time to complete:
- 30–60 minutes
Step 3: Repair and Smooth Imperfections
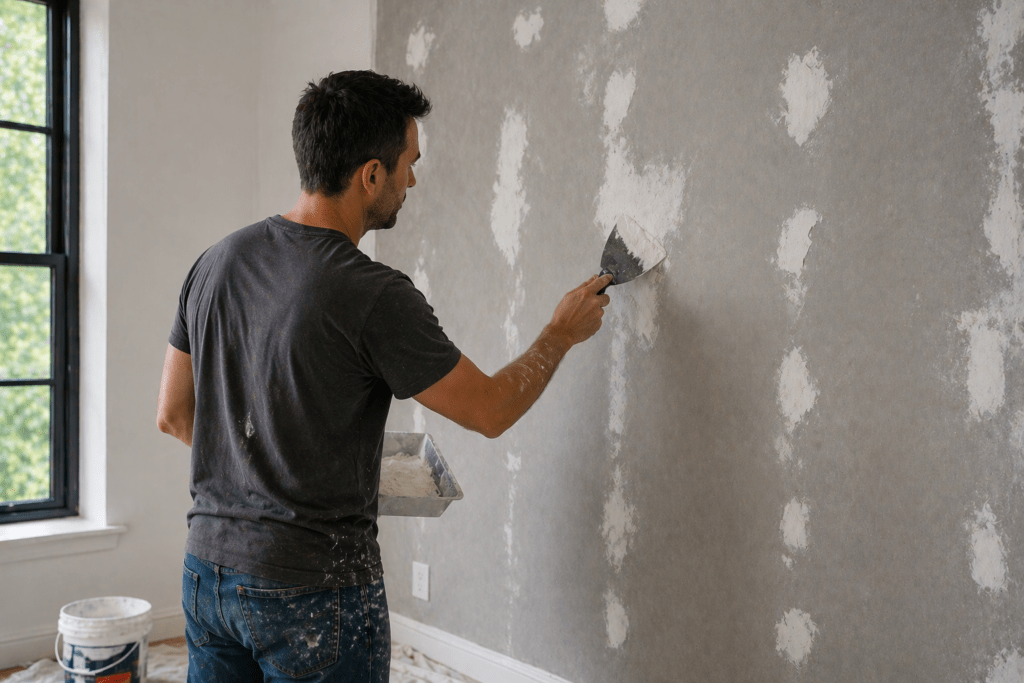
Tools you’ll need:
- Spackle or joint compound
- Putty knife
- Sanding block (120–220 grit)
Goal:
A flat—but not perfectly polished—surface.
Trade-off:
- Too rough → texture issues
- Too smooth → less grip for coatings
Pro tip:
Feather your repairs wide so they disappear under the finish.
Time to complete:
- 1–2 hours (plus drying time)
Step 4: Sand for Proper Adhesion
Why it matters:
Faux concrete needs “tooth” to grab onto.
What to do:
- Lightly sand entire wall
- Focus on glossy areas
- Wipe down dust afterward
Risk:
Skipping sanding on glossy paint = peeling later.
Time to complete:
- 30–60 minutes
Step 5: Apply the Right Primer
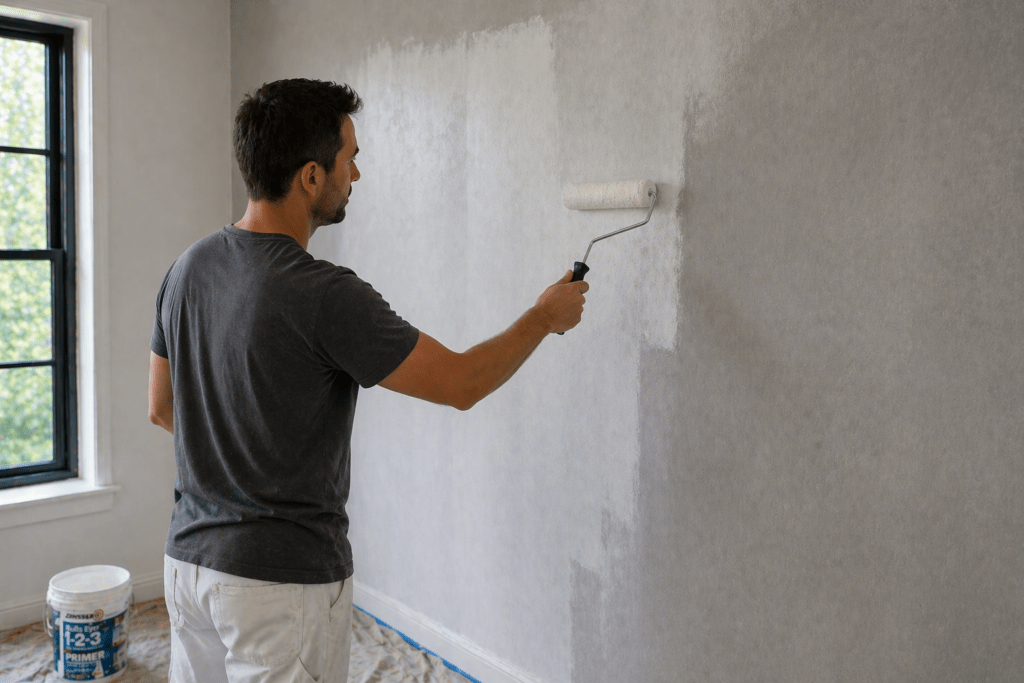
This is where most people go wrong.
Not all primers are equal. You want:
- Bonding primer (for slick surfaces)
- Matte finish (not glossy)
Why it matters:
Primer controls:
- Adhesion
- Color uniformity
- Workability of your top coats
Trade-off:
Skipping primer saves time—but risks total failure.
Time to complete:
- 30–60 minutes application
- 2–4 hours dry time
Step 6: Base Coat (Sets the Tone)
What it does:
Creates a consistent color foundation.
Best colors:
- Mid-tone gray
- Warm gray for softer look
- Cool gray for modern style
Why it matters:
Your faux concrete layers are semi-translucent—this base will show through.
Time to complete:
- 1–2 hours
- 4–6 hours dry
Decision Guide: How Much Prep Do You Need?
- New drywall: Light sand + primer
- Previously painted wall (flat): Clean + light sand + primer
- Glossy wall: Clean + heavy sand + bonding primer
- Damaged wall: Repair + skim coat + full prep
Don’t overdo it—but don’t skip steps either.
Realistic Expectations
Here’s the honest part:
- Prep takes almost as long as the finish
- It’s not the “fun” part—but it’s the most important
- Cutting corners here shows up later
Expect:
- 3–6 hours total prep time (depending on wall condition)
- Better results with patience
- Fewer headaches during application
Product Recommendations
For a smooth process from start to finish:
- Achieve optimal results:
→ Expert Tips & Techniques - Step-by-step “how to” techniques:
→ How to Paint a Wall Like Concrete - Tools and materials needed:
→ Best Tools for Creating Faux Concrete

Printable Checklist
Faux Concrete Wall Prep Checklist
- Inspect wall for damage or problem areas
- Clean surface (remove dust, grease, residue)
- Patch holes and cracks
- Sand entire wall lightly
- Wipe away sanding dust
- Apply bonding or matte primer
- Apply base coat in neutral gray
- Allow proper drying time before finishing
Frequently Asked Questions
Can I skip primer?
You can—but you’re risking poor adhesion and uneven color. It’s not worth it.
Do I need to sand if the wall feels smooth?
Yes, especially if there’s any sheen. Smooth doesn’t always mean “ready.”
What’s the best base color?
A mid-tone gray is the safest starting point. You can shift warmer or cooler from there.
How clean is “clean enough”?
If there’s any dust or grease left, it’s not clean enough. Wipe it twice if needed.
Can I apply faux concrete over textured walls?
You can—but you’ll either need to skim coat first or accept a heavier, less refined look.
Extra Resources
- American Concrete Institute (ACI): https://www.concrete.org
- National Association of Home Builders (NAHB): https://www.nahb.org
- International Code Council (ICC): https://www.iccsafe.org
Conclusion
If you want a faux concrete wall that actually looks real and lasts, prep isn’t optional—it’s the job. Take the extra time to clean, sand, and prime properly. It’s not flashy work, but it’s what makes everything else come together.
Because once you start applying those finish layers, you don’t want to be fighting the wall—you want the wall working with you.